Build an HTML page with ChatGPT Codex
This guide shows how to use ChatGPT Codex to build an HTML page.
Prepare for page generation
Set up the base
The example uses three tables: Products, OrderItems (linked to Products), and Orders (linked to OrderItems).
When submitting an order, users select products and quantities to create order items, then create an order linked to those items.
Base requirements for this example
The form reads products from the base and writes orders back, so it expects three tables:
- Products — with
Product_name(text) andUnit_price(number) - OrderItems — with
Product(link to Products) andQuantity(number) - Orders — with
OrderItems(link to OrderItems)
Create them in your base before running the page, or adapt the table and field names in the page requirements.
You can use the example base to test the page.
Set up the app and HTML page
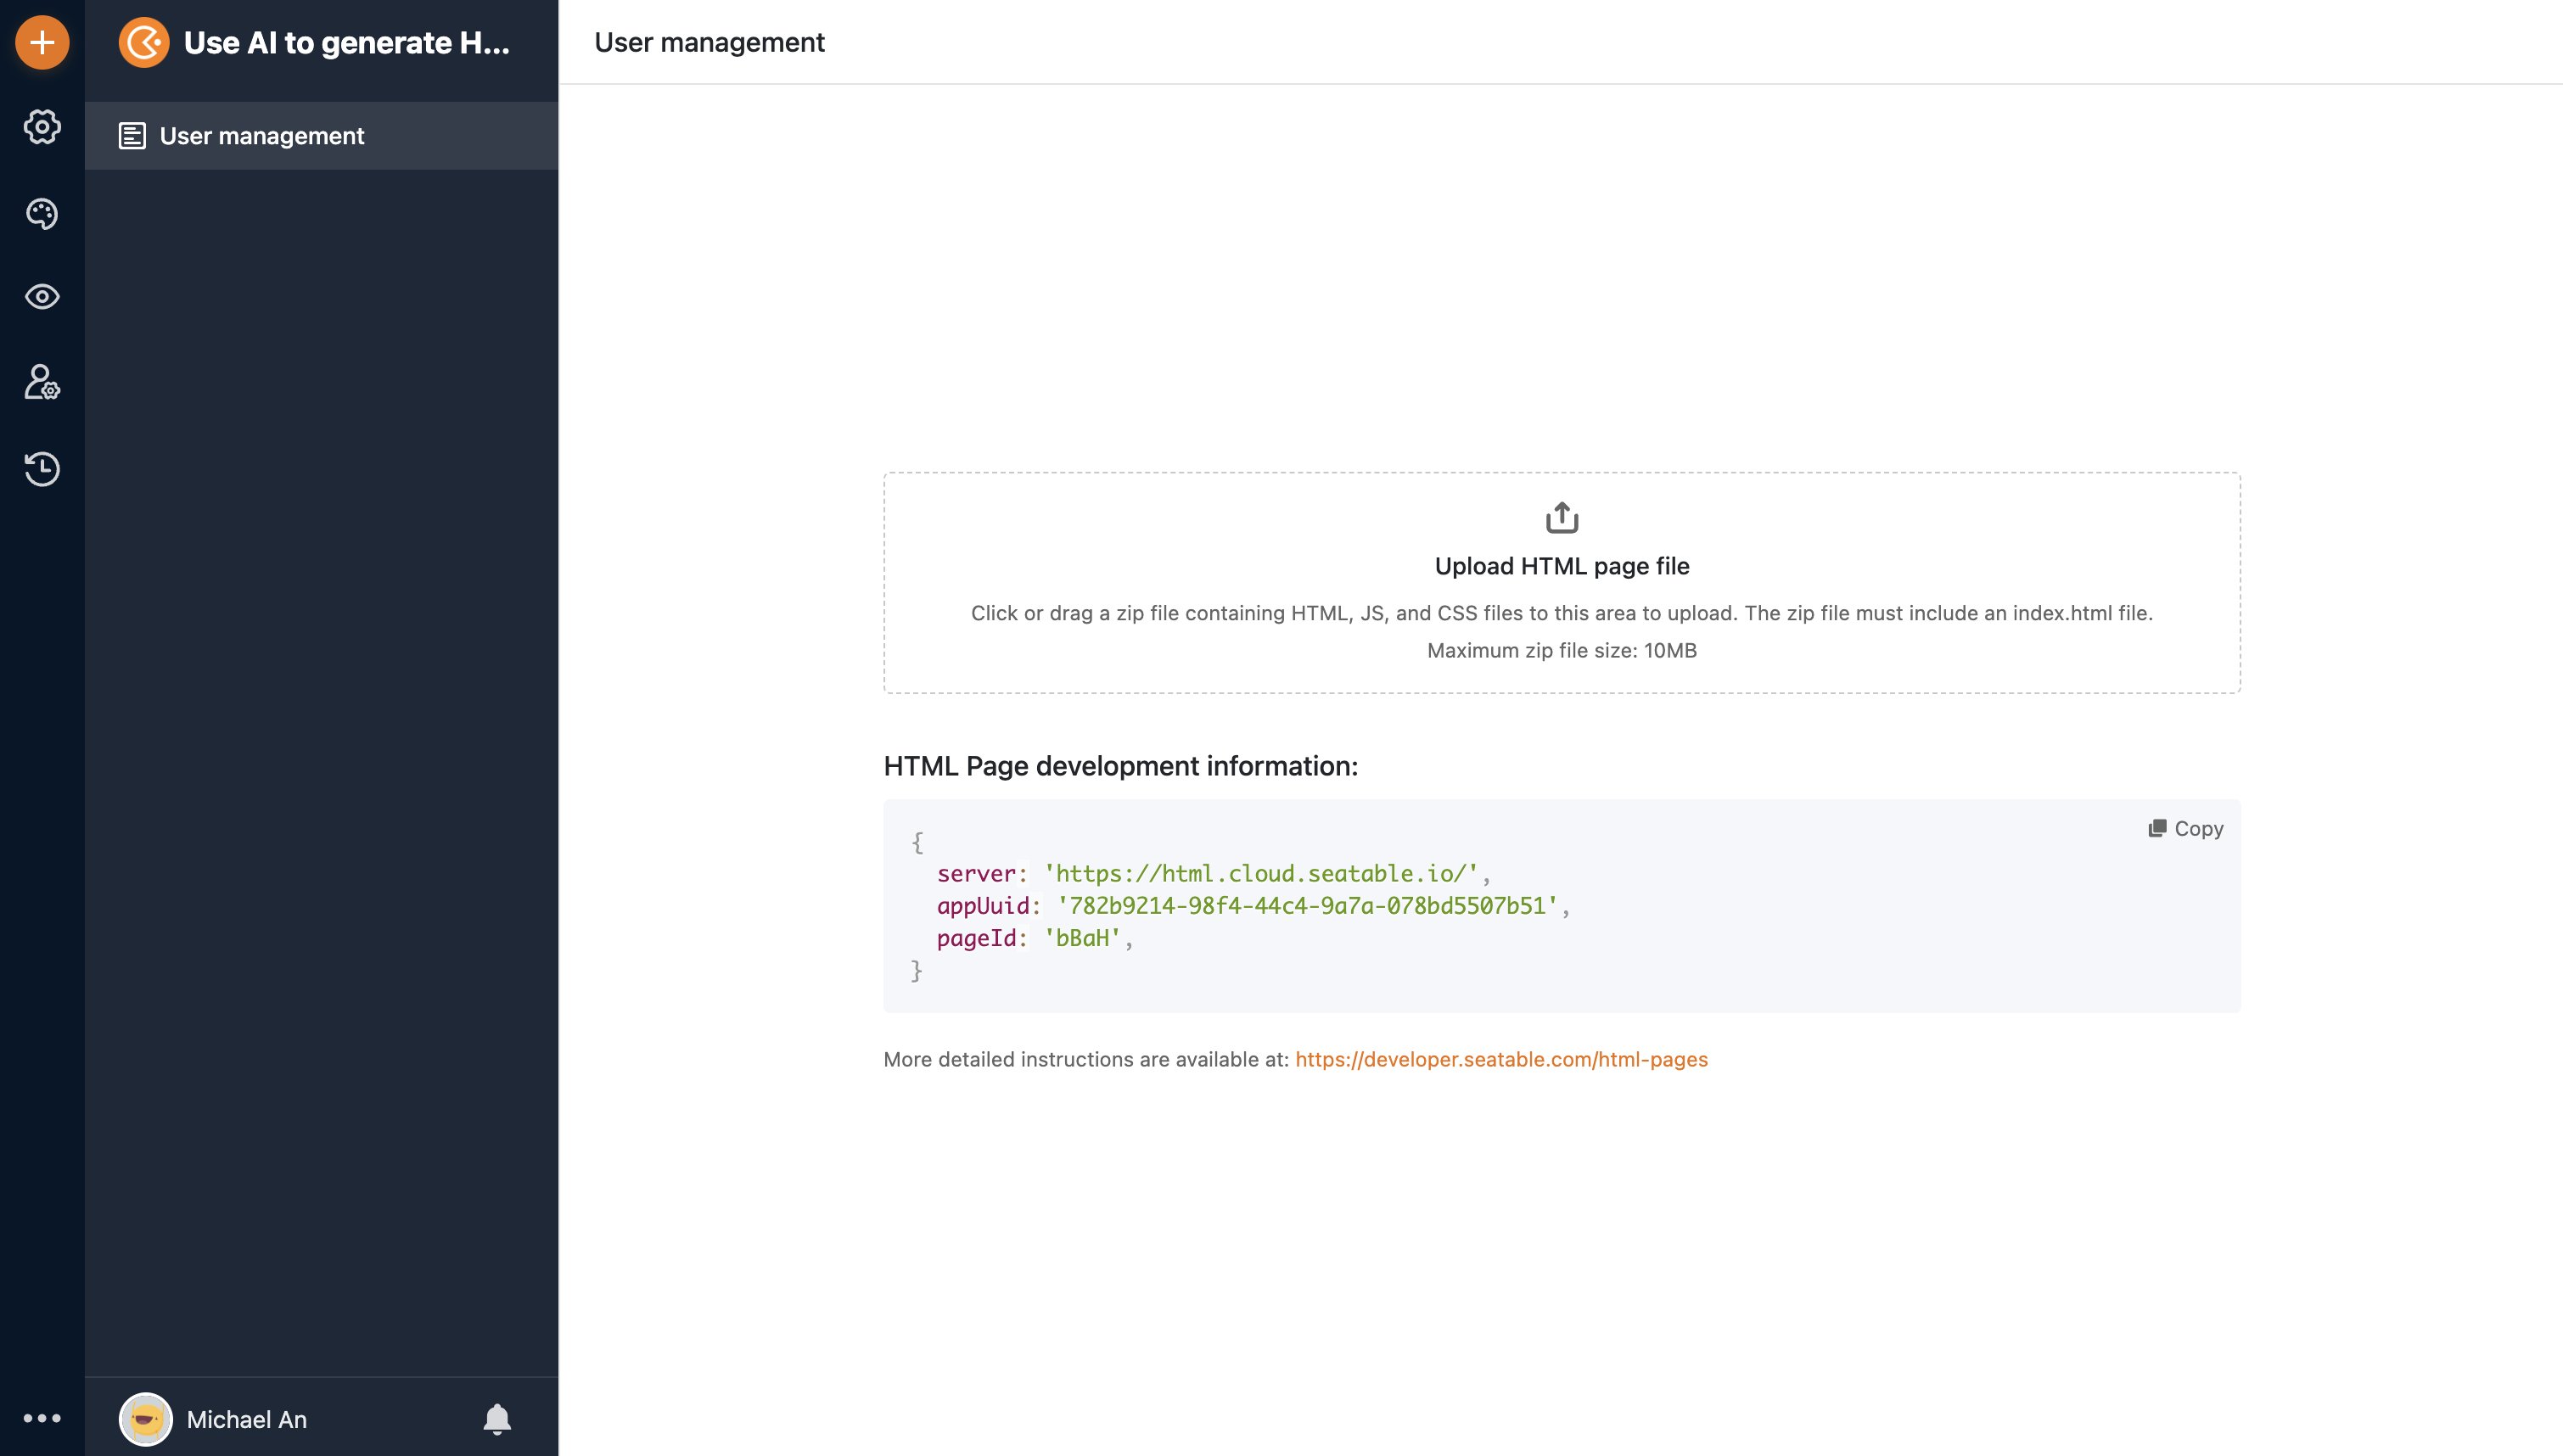
Create an app and add an HTML page.
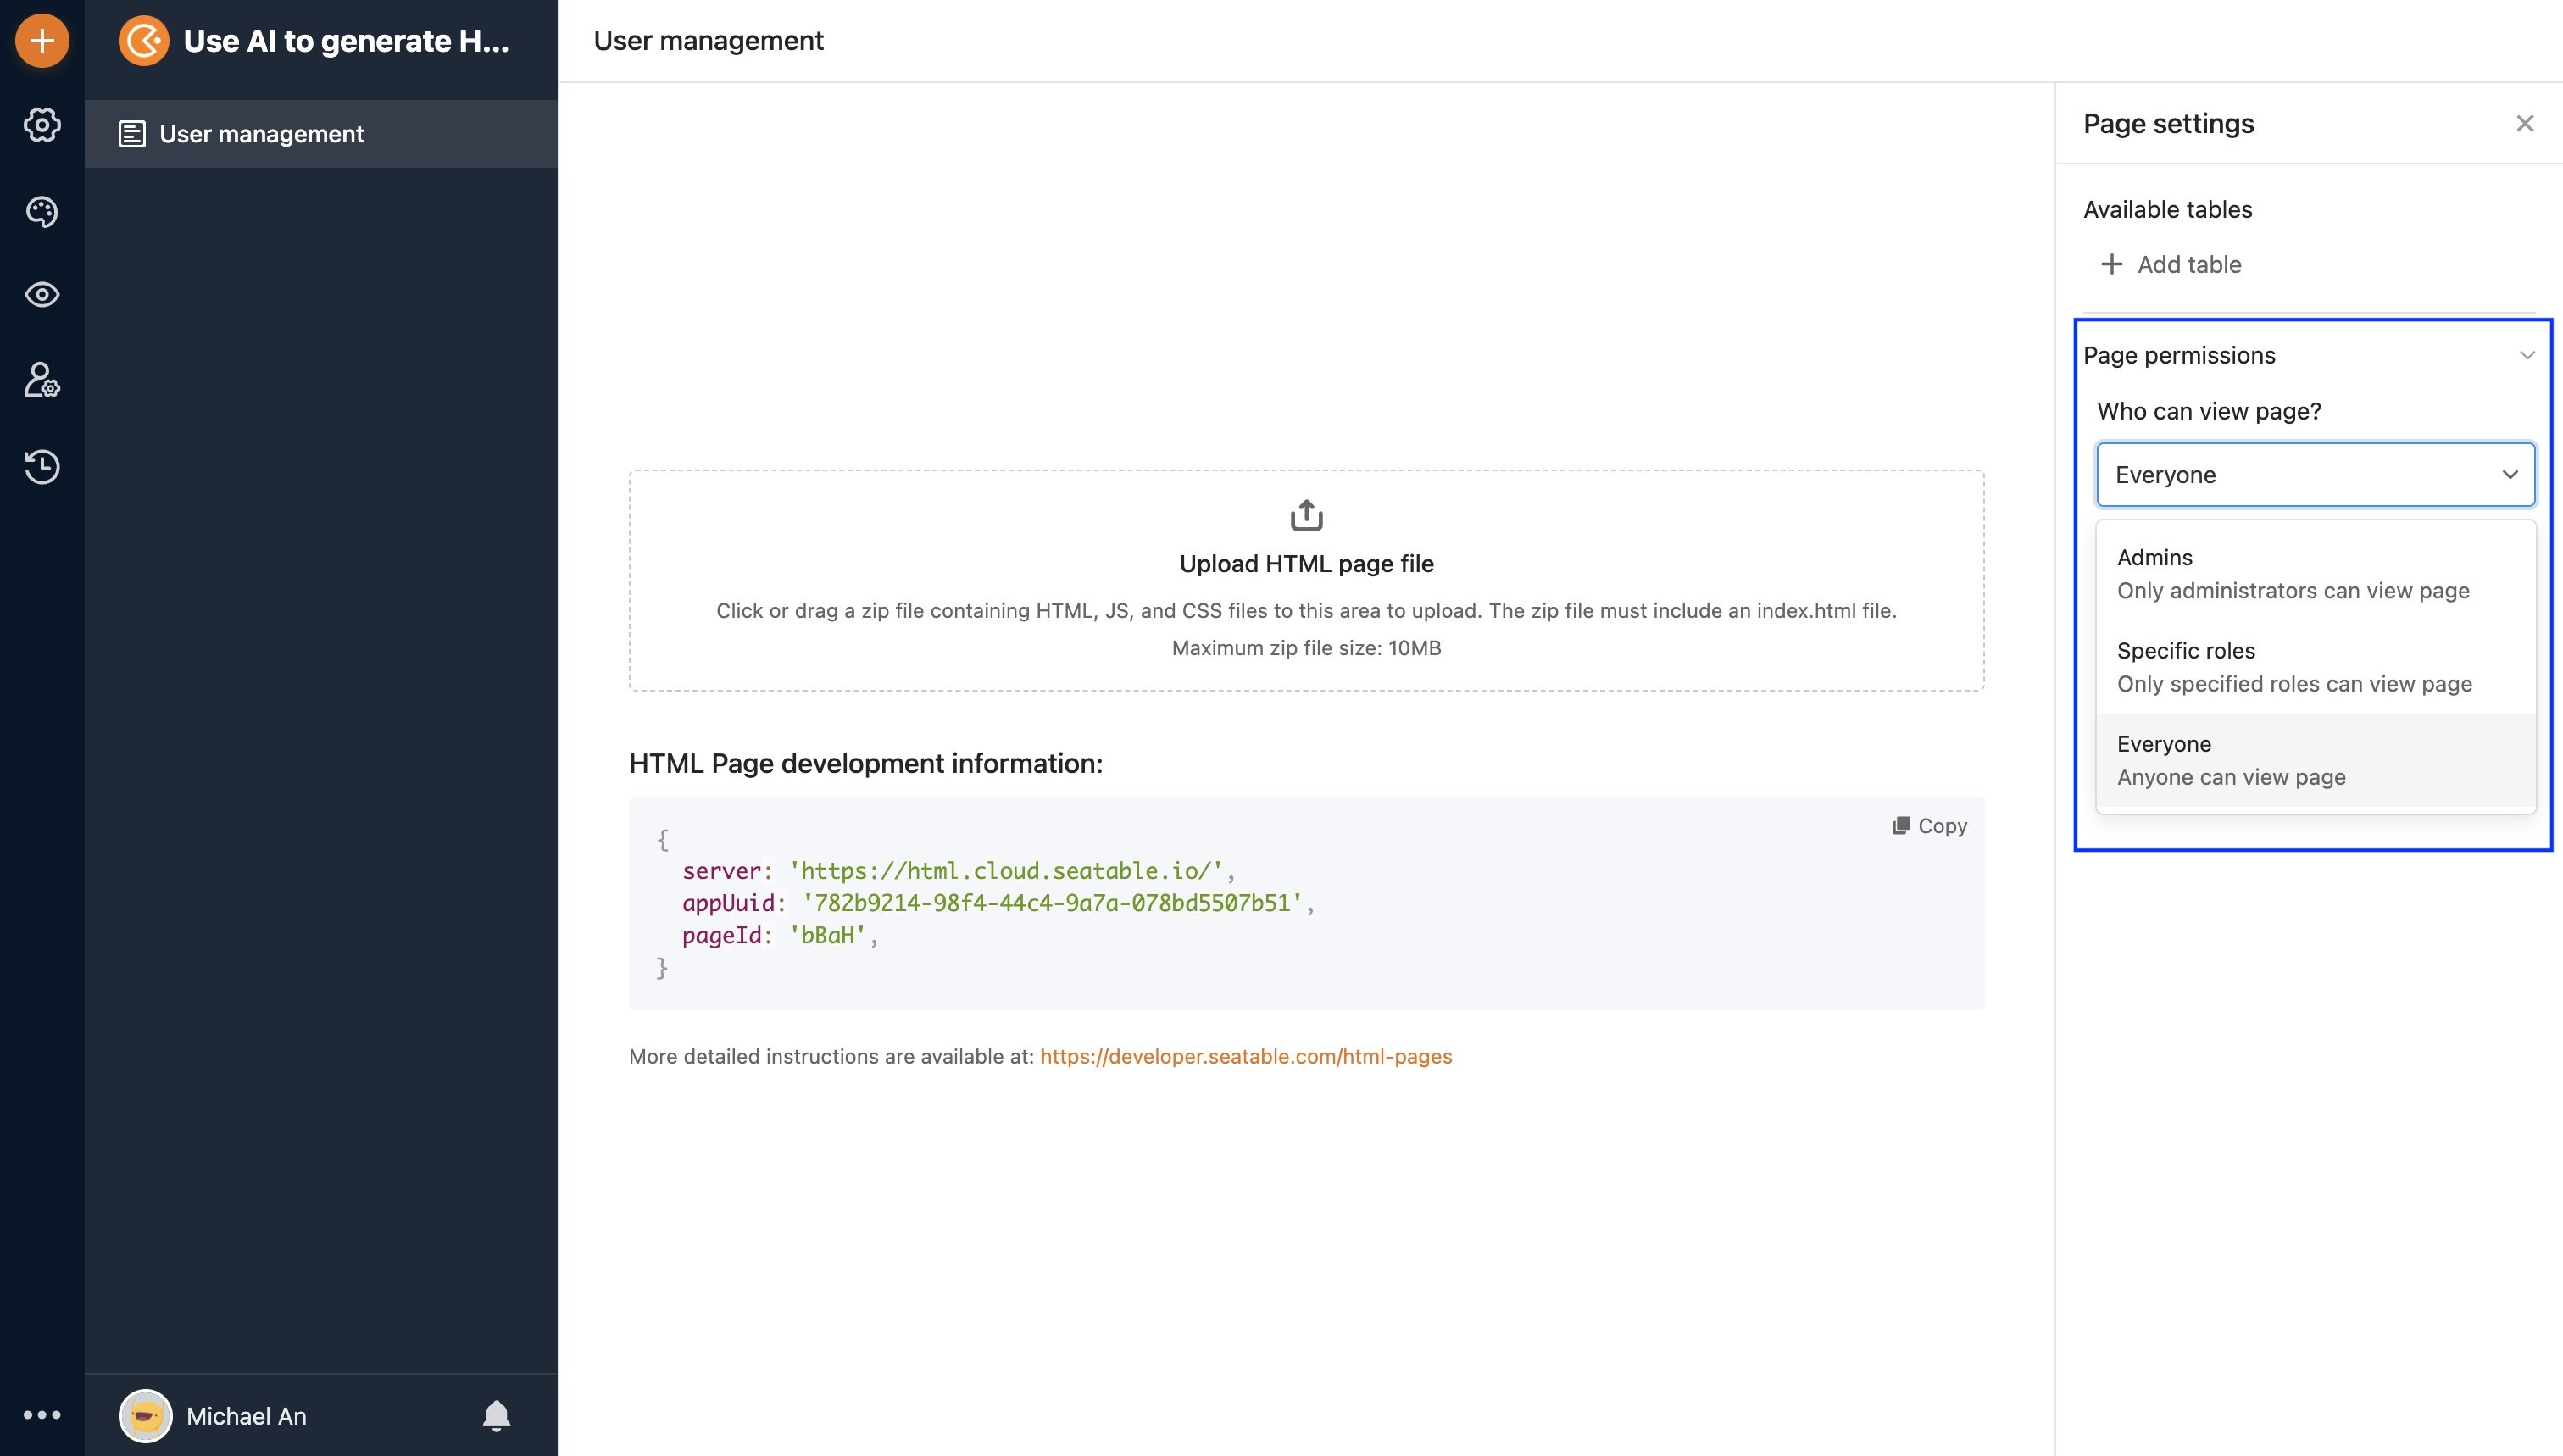
Configure permissions
Configure page access permissions according to the page's intended use, as shown below.
Configure table permissions as shown below.
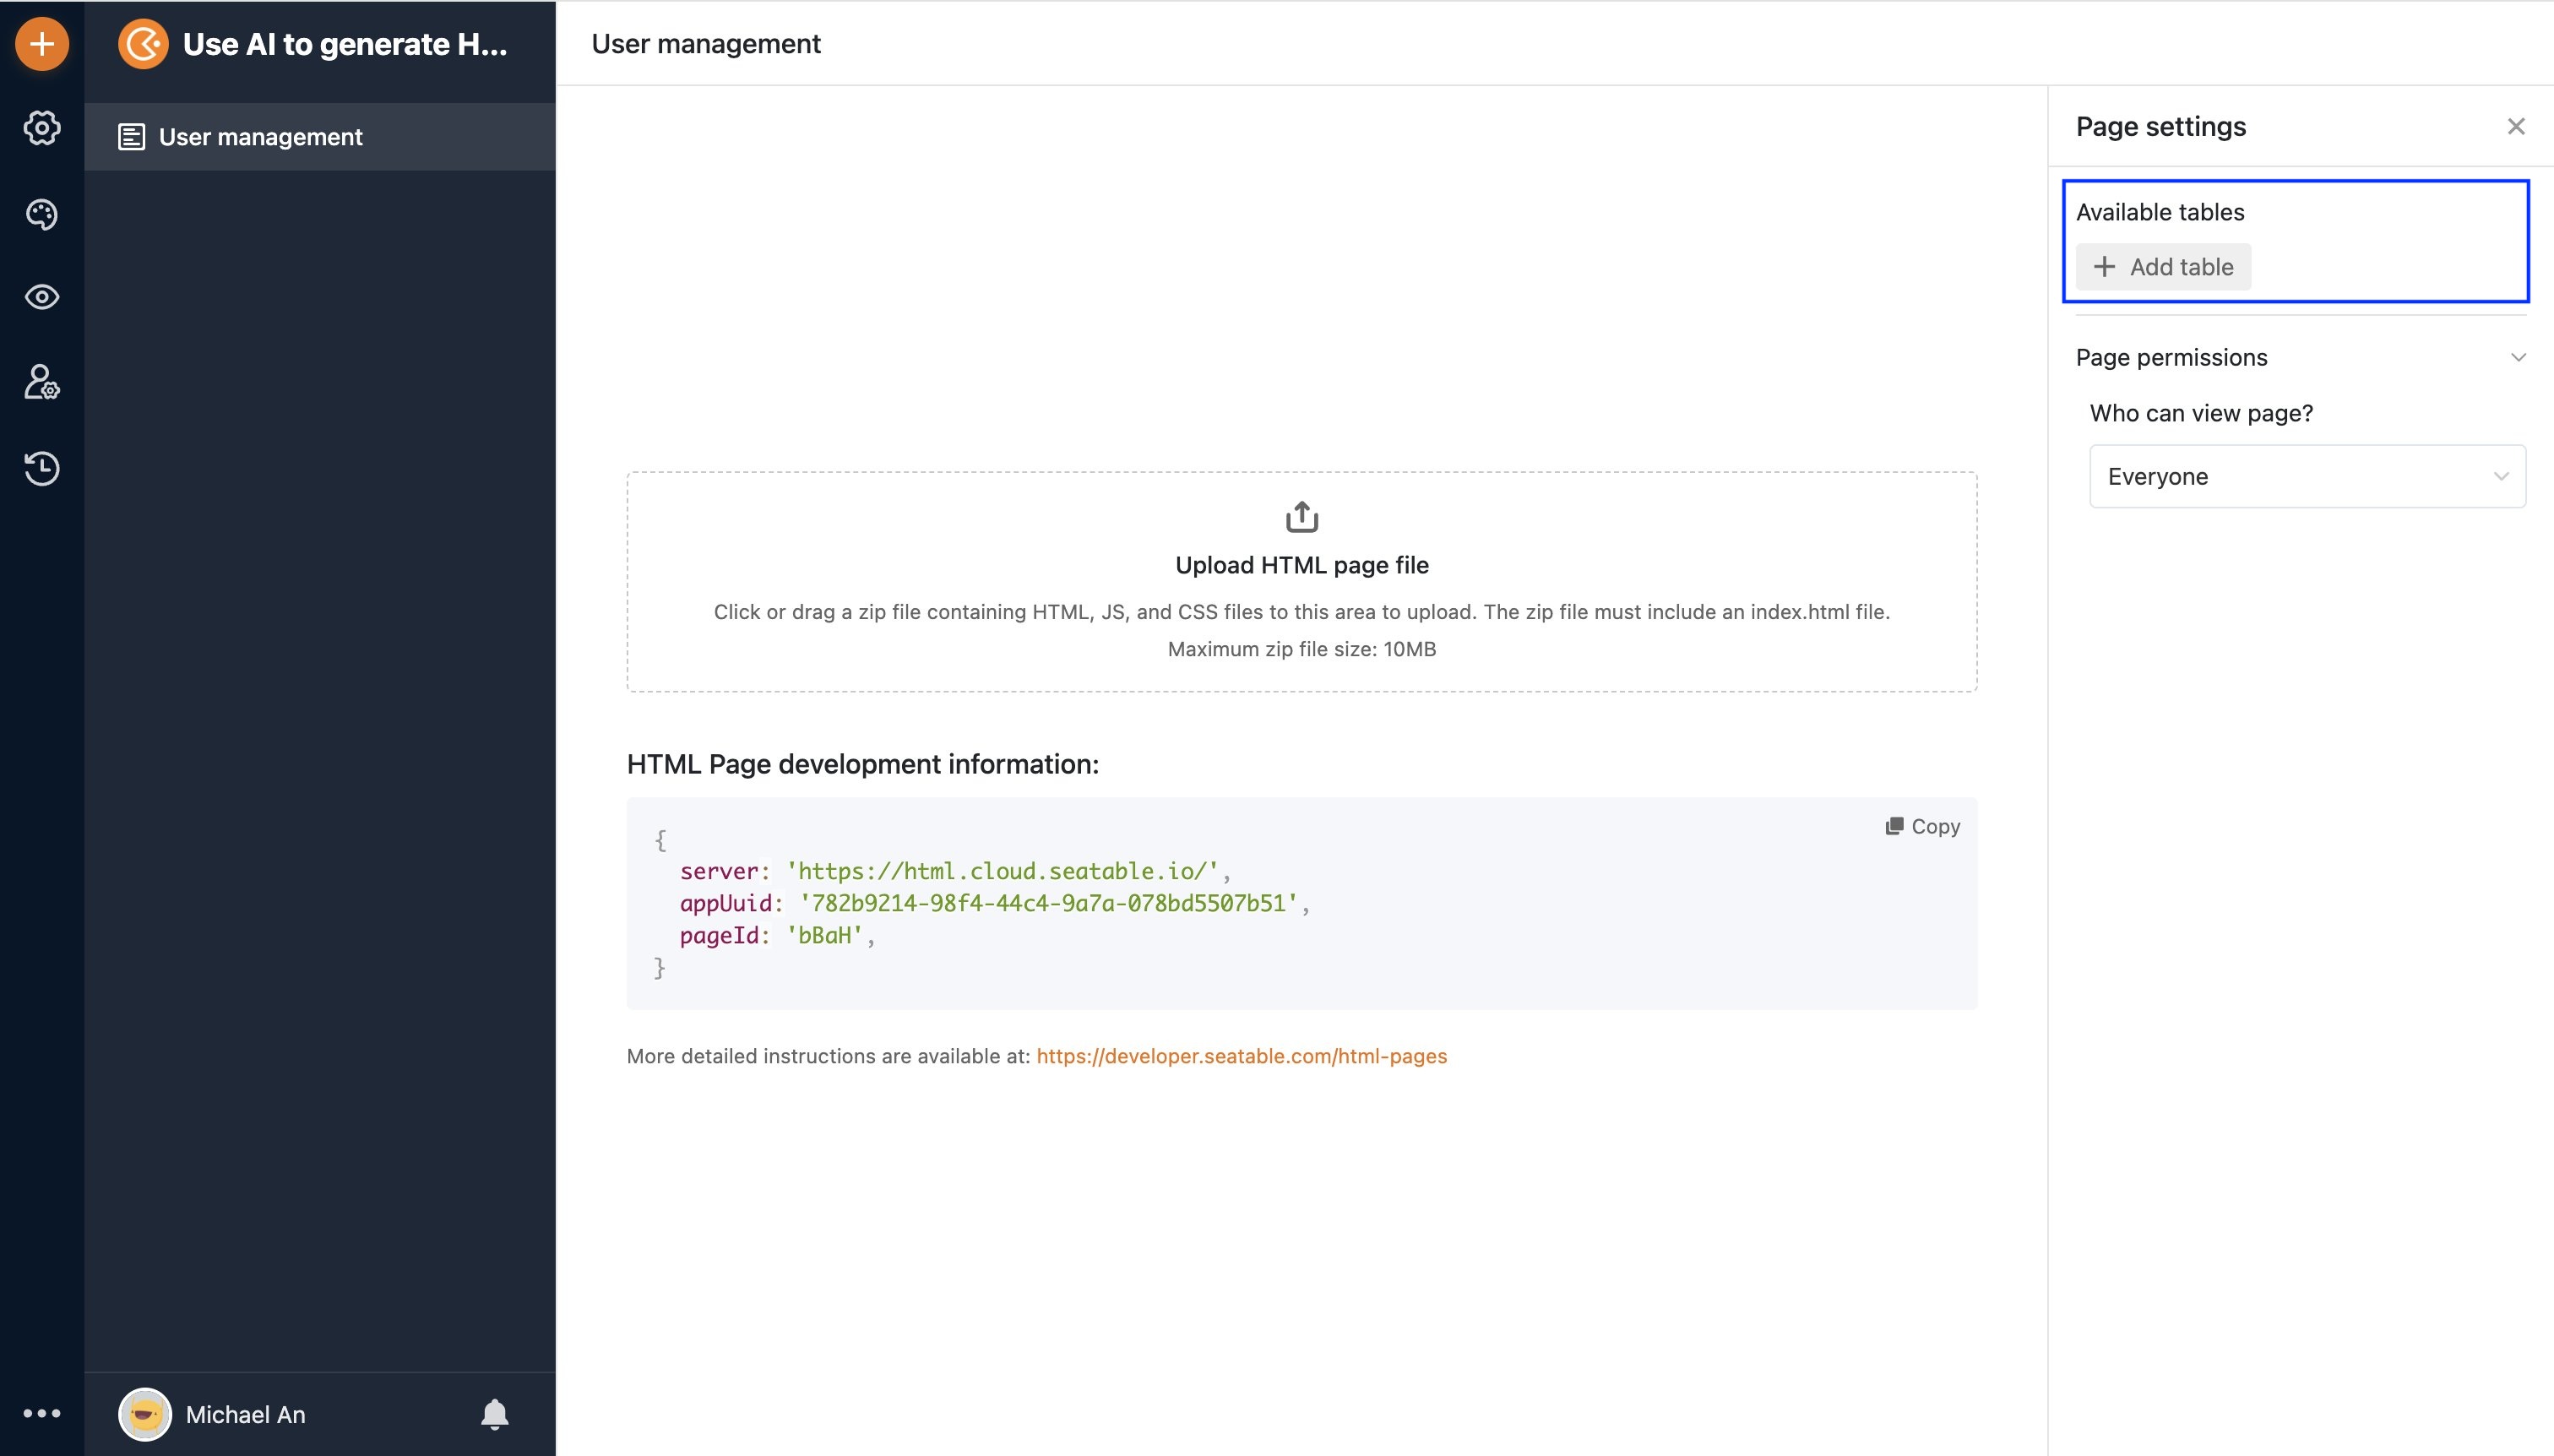
Table 1: Products
The page needs to list product records so users can choose what to order. Enable the "Can view records" permission for this table.
Review field permissions
Allow the page to read Product_name and Unit_price so it can display the product choices and prices. Adjust field permissions to suit your needs, especially before using the page in production.
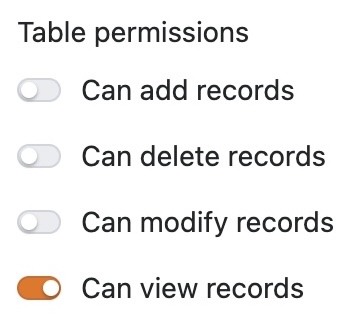
Table 2: OrderItems
The page needs to add order item records with the selected product and quantity. Enable the "Can add records" and "Can modify records" permission for this table. The Product field links each item to Products.
Review field permissions
Allow the page to add values to the Product and Quantity fields. Adjust field permissions to suit your needs, especially before using the page in production.
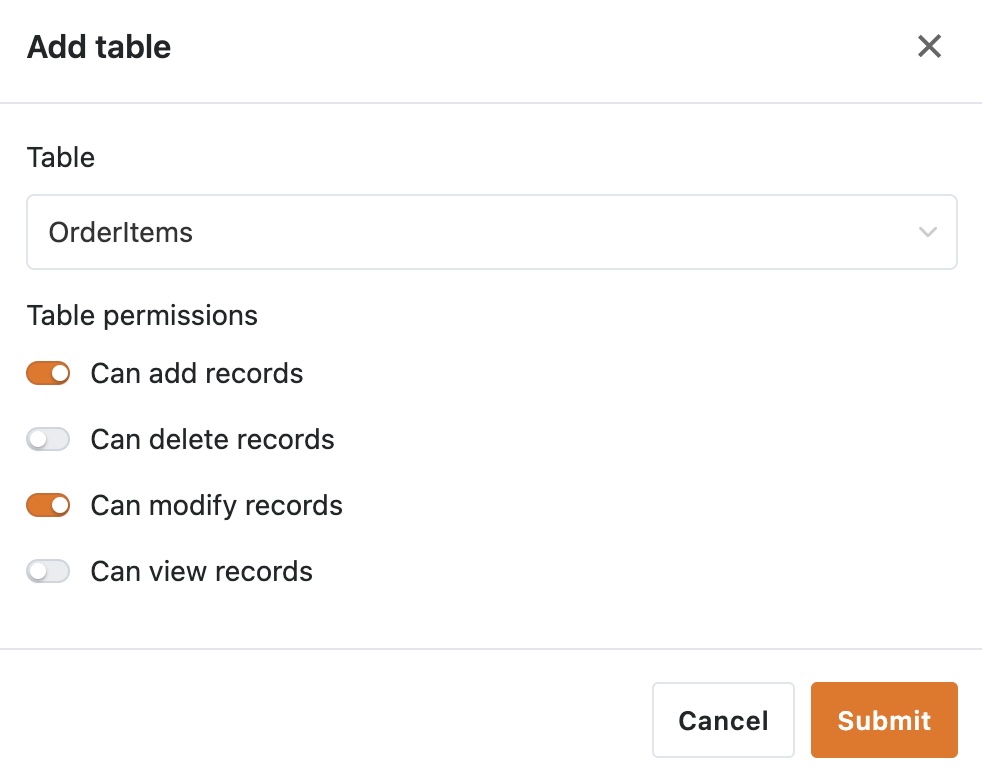
Table 3: Orders
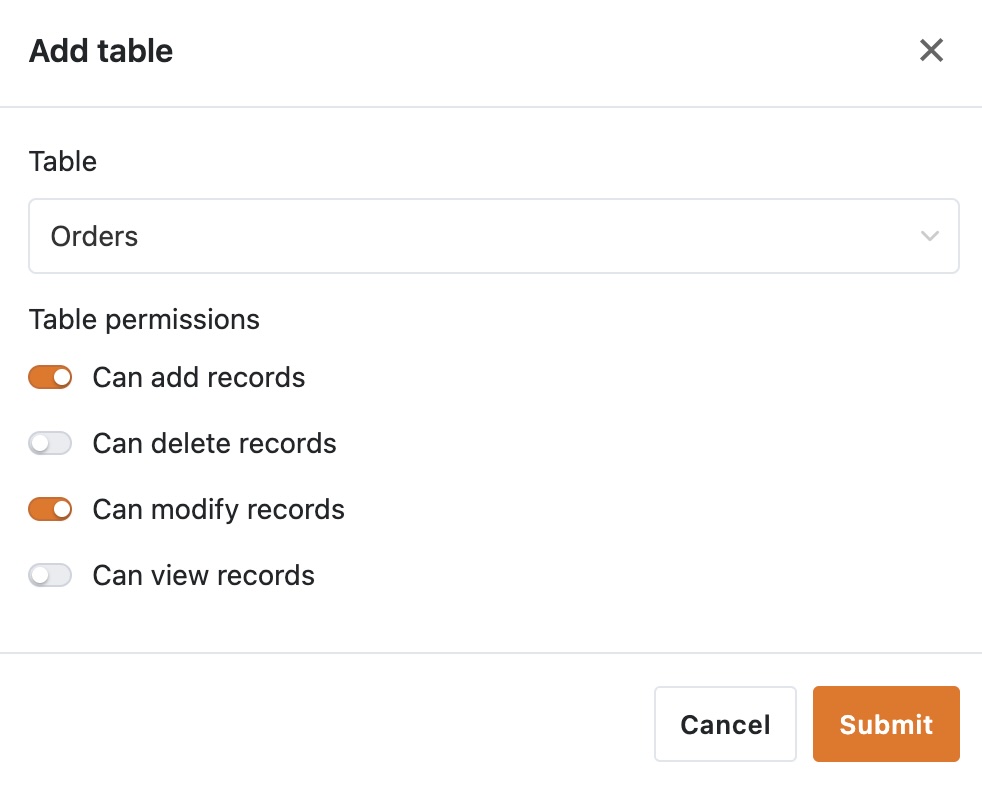
The page needs to add order records to this table and link them to the order items created during submission. Enable the "Can add records" and "Can modify records" permission for this table.
Review field permissions
Allow the page to add values to the OrderItems field, which links to OrderItems. Adjust field permissions to suit your needs, especially before using the page in production.
Install the skill
If you have not used the skill before, install it first. This guide assumes that the ChatGPT Codex is already installed on your computer.
You can install the skill in either of the following ways.
Method 1: Send an installation command
In a conversation with the ChatGPT Codex, send the following command:
GitHub connection required
If the ChatGPT Codex cannot connect to GitHub, this method may fail.
Resolve the connection issue and try again, or use Method 2.
Method 2 (recommended): Copy the skill to your local AI tool's skills directory
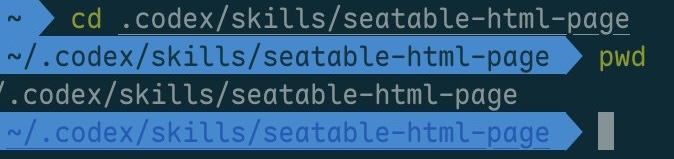
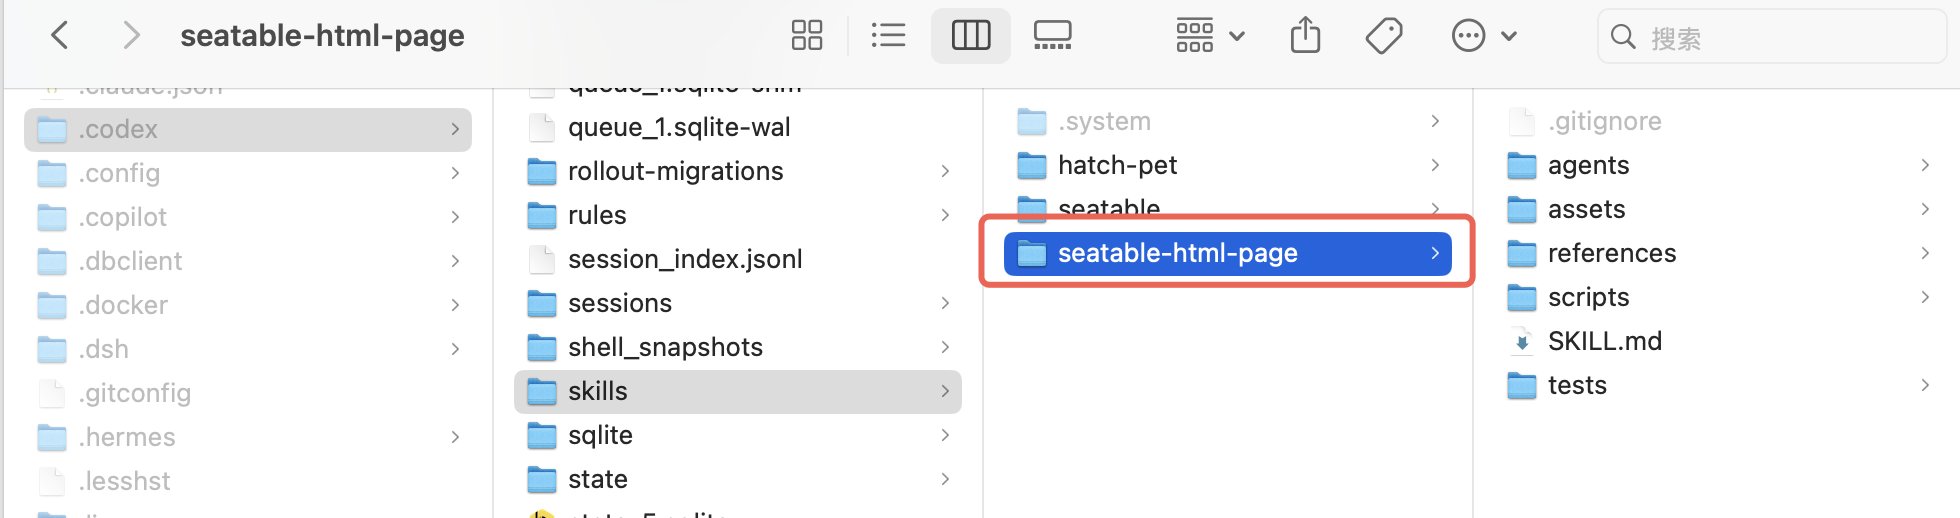
The skill is available in the seatable/skills repository. Download the repository using your preferred method, then copy seatable-html-page from its skills directory to the directory where your AI tool stores skills.
The following screenshots show where the seatable-html-page skill is installed on a local computer.
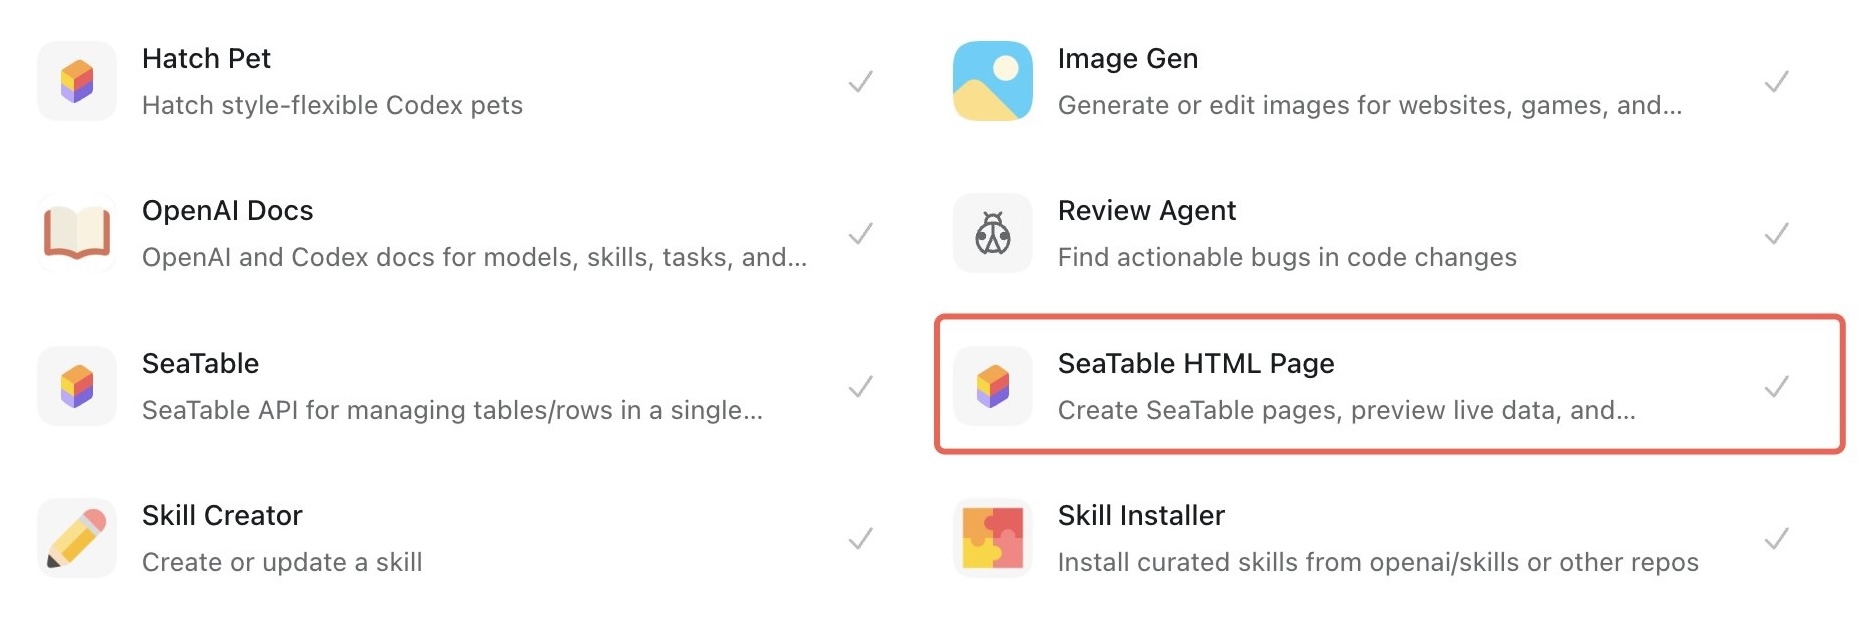
In ChatGPT, open Plugins -> Skills and check that "SeaTable HTML Page" appears in the list.
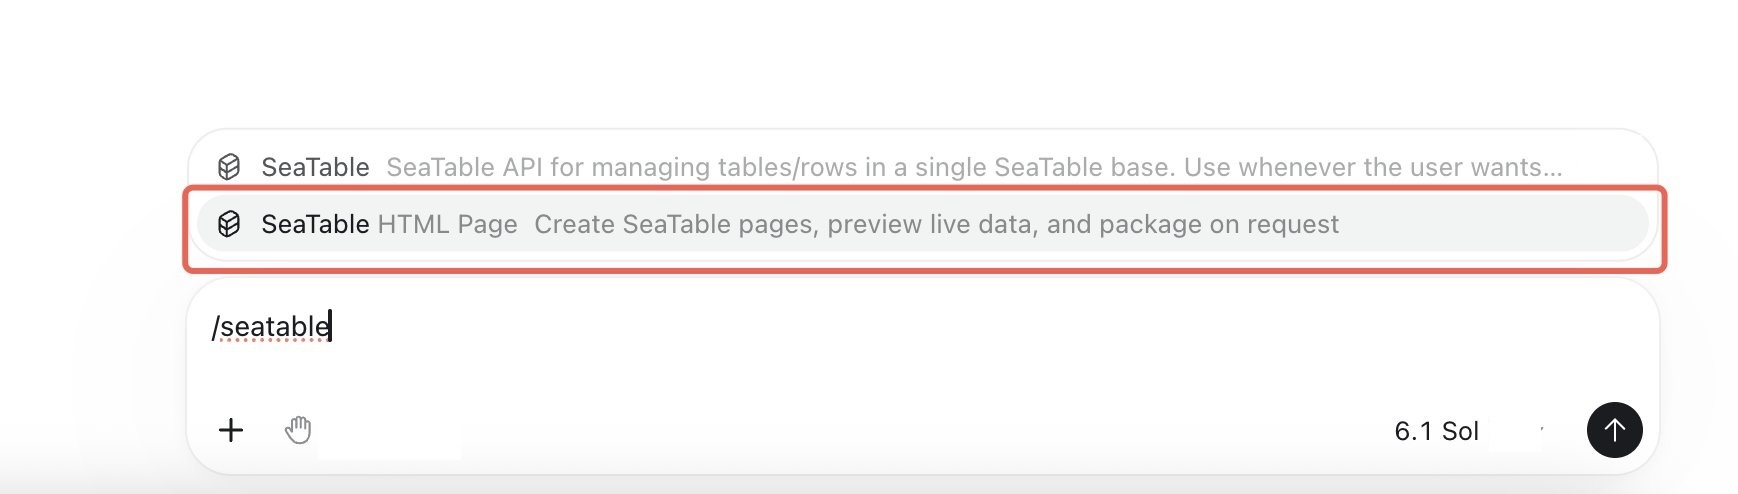
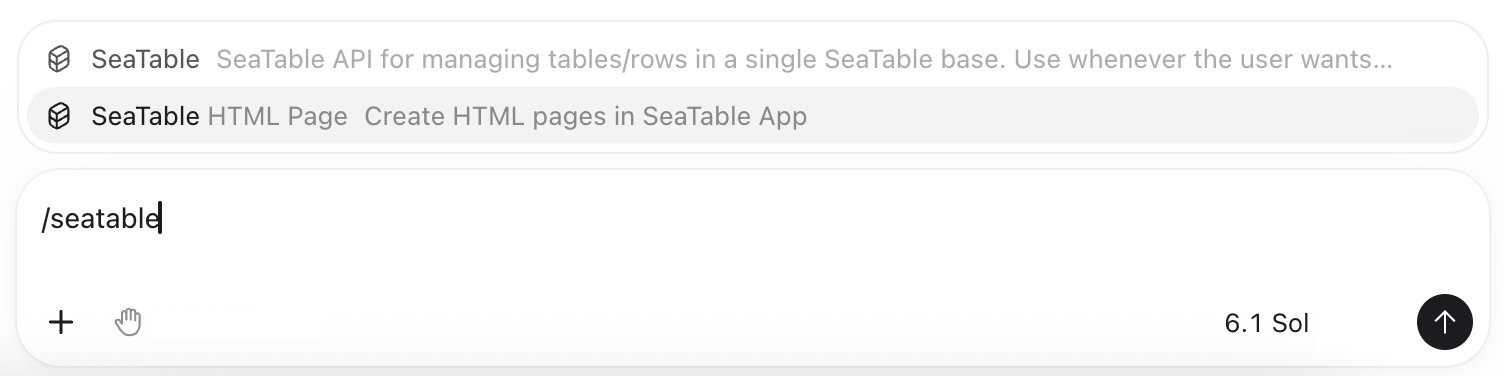
You can also enter /seatable in a conversation. If "SeaTable HTML Page" appears in the list of available skills, the skill is installed.
Create a ChatGPT project
To keep your work organized, create a ChatGPT project for each HTML page. You will create a local folder for the page and link it to the project in the following steps.
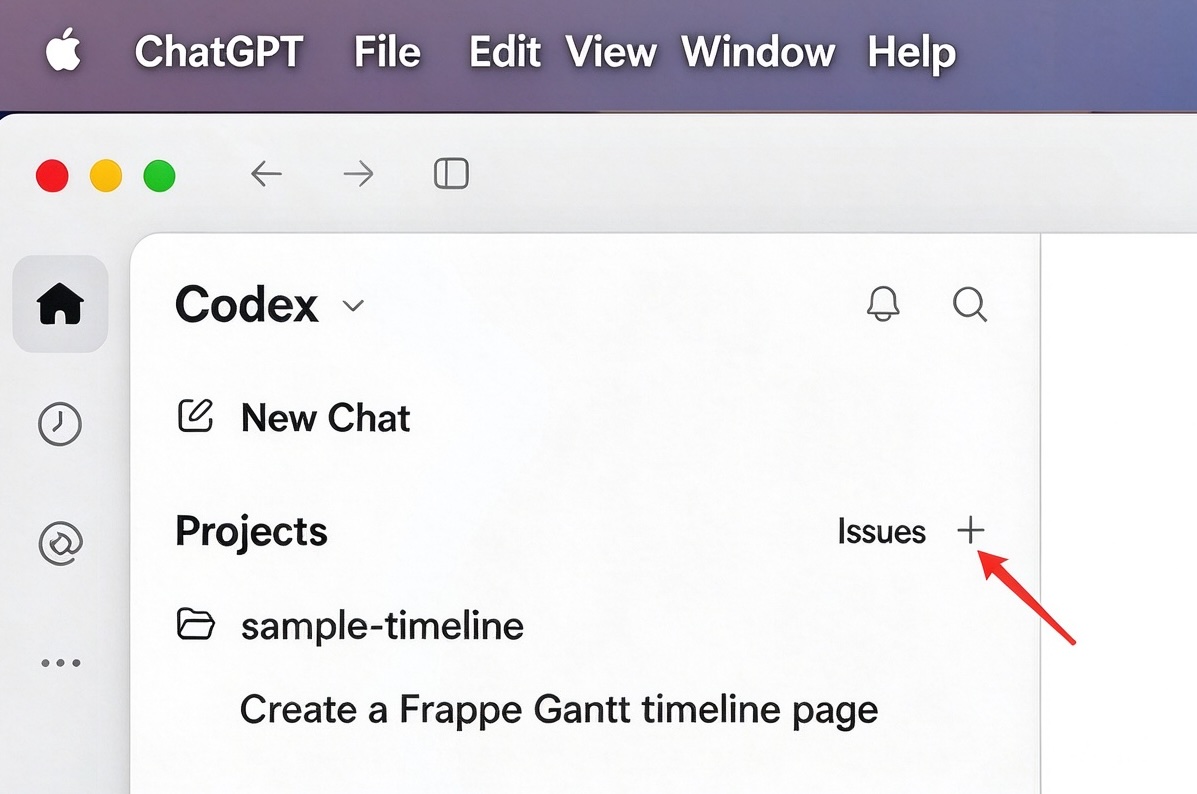
Create a folder for the page in a convenient location, using any method you prefer.
The project name is optional. If you leave it blank, ChatGPT uses the folder name by default.
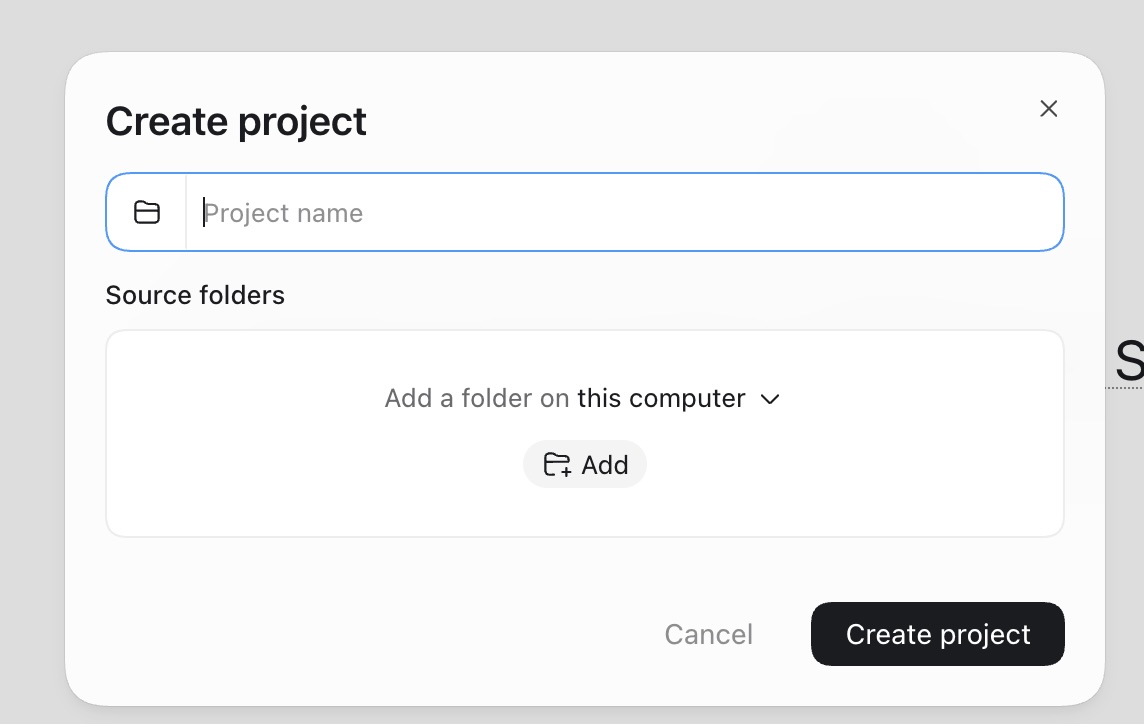
Once the project has been created, a new conversation for it starts automatically.
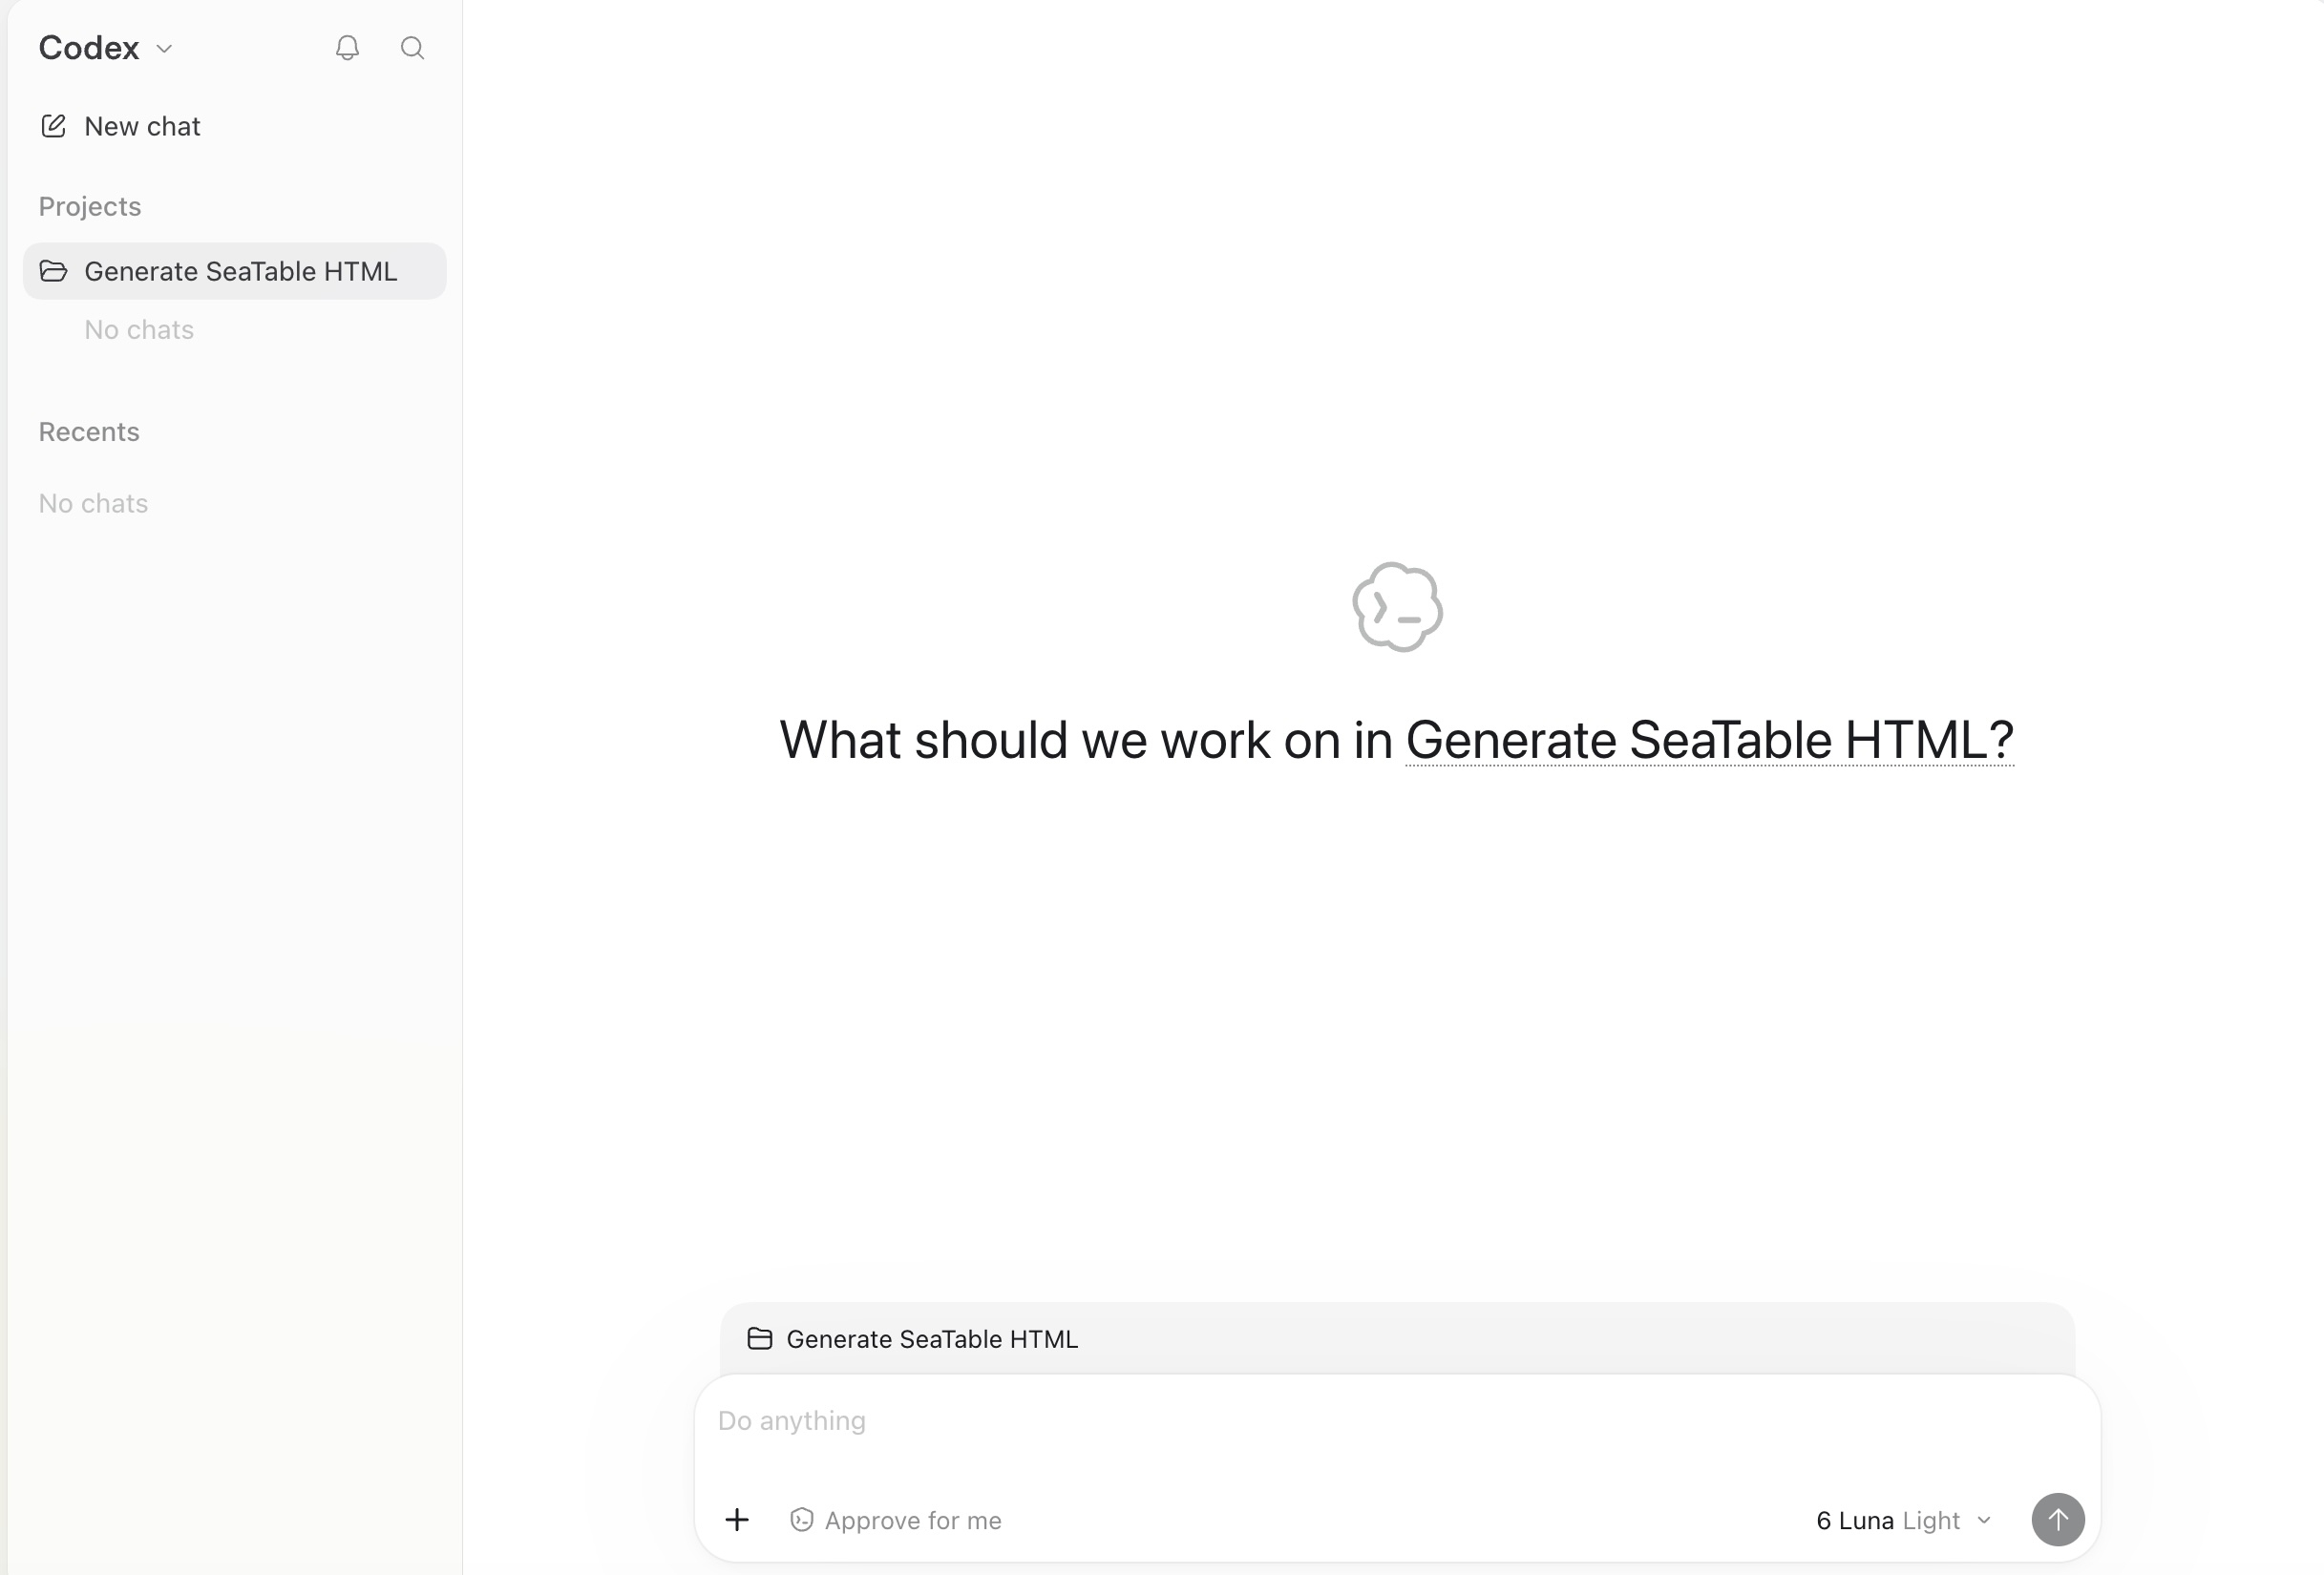
Generate a page with ChatGPT Codex
Select the skill and configure the local development environment
Enter /seatable and select the page-generation skill from the pop-up list.

After selecting the skill, ask it to set up the local development environment.
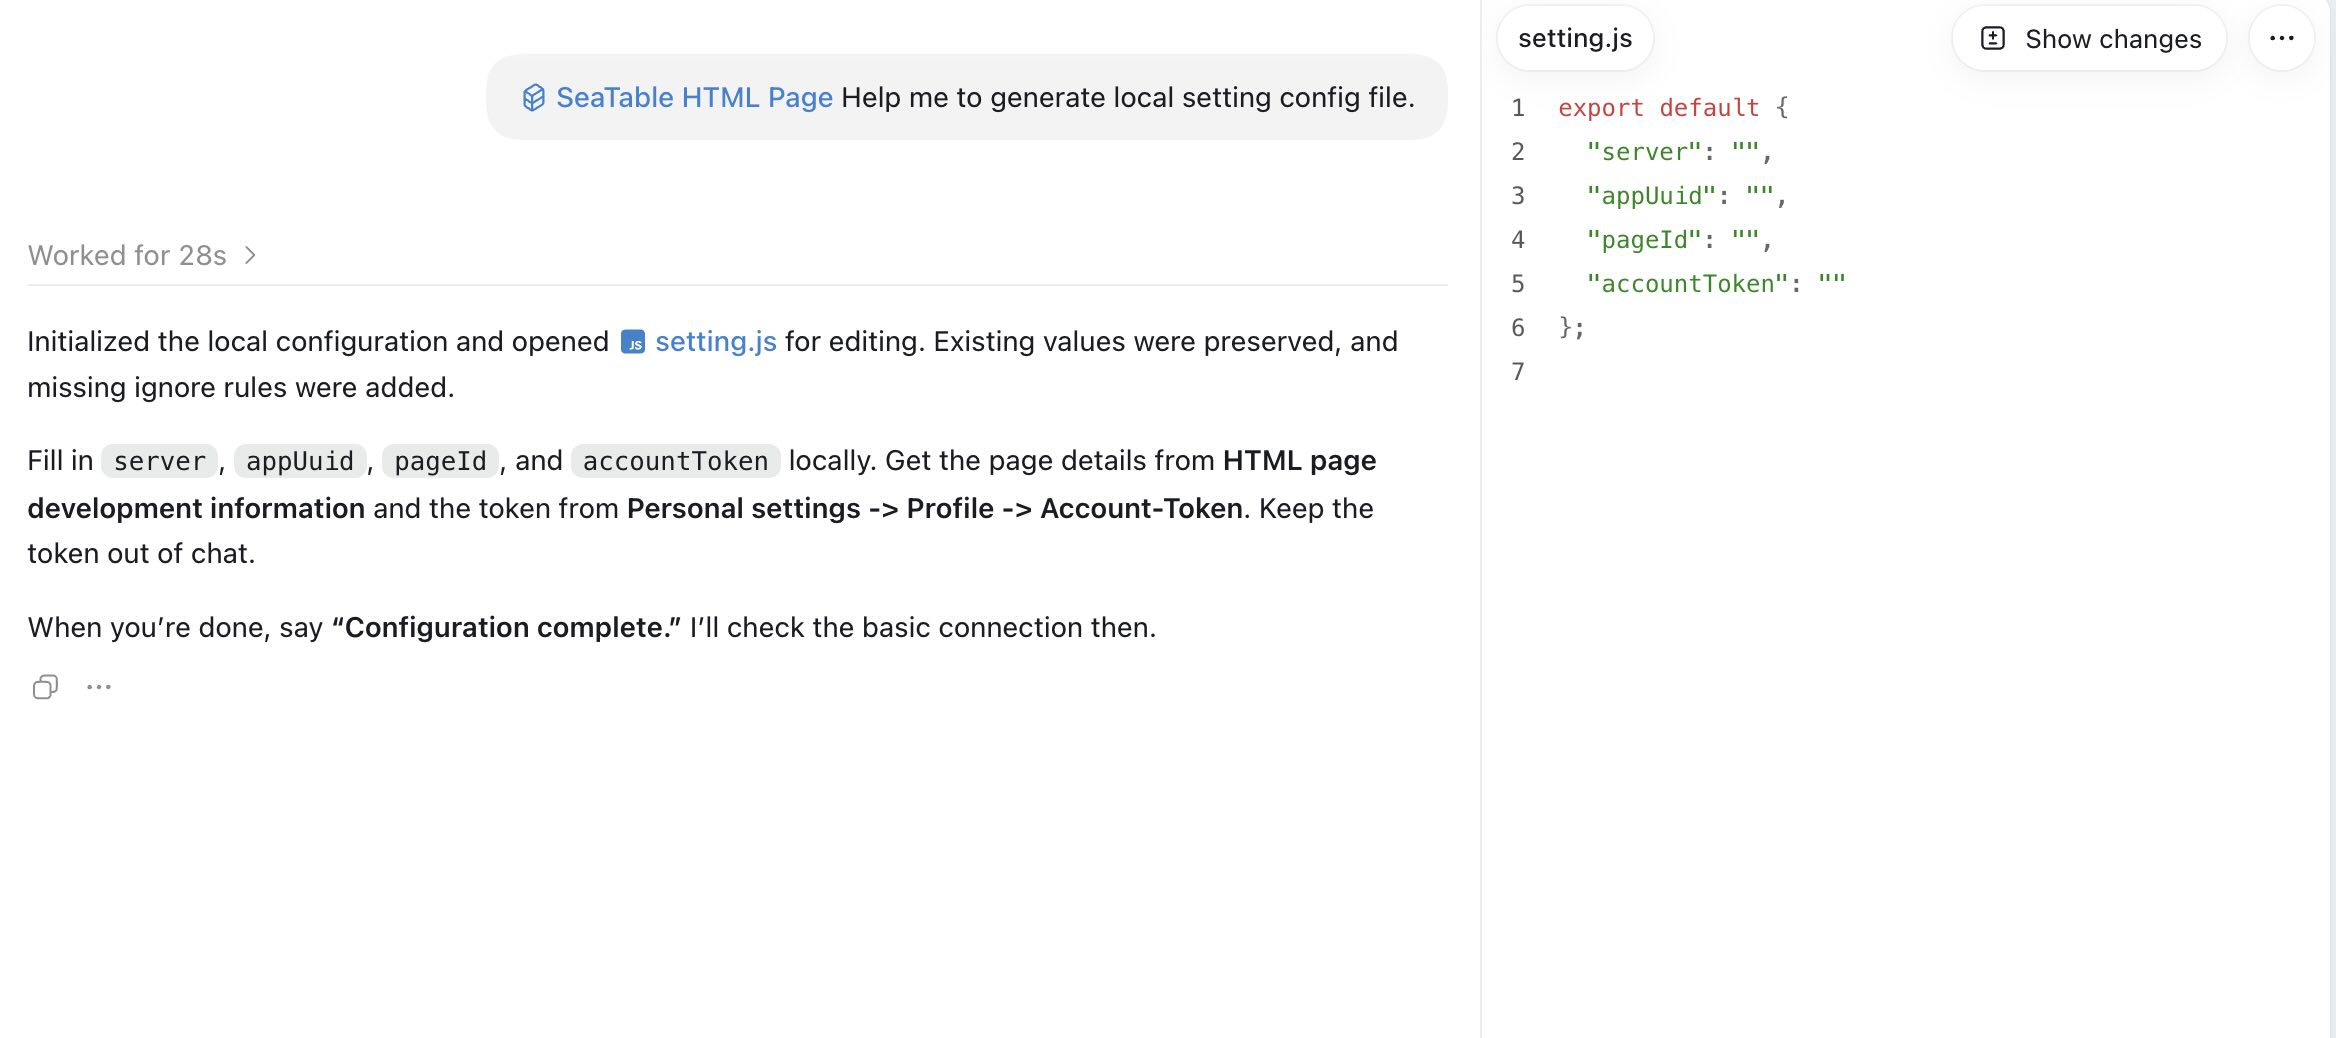
In the configuration file, enter the server address, appUuid, and pageId shown for the blank HTML page you created during setup.
Keep your account token private
Find your accountToken under Personal Settings -> Personal Information -> Account Token. Do not share it in the conversation, because it could give others access to your account.

Describe the page and data structure
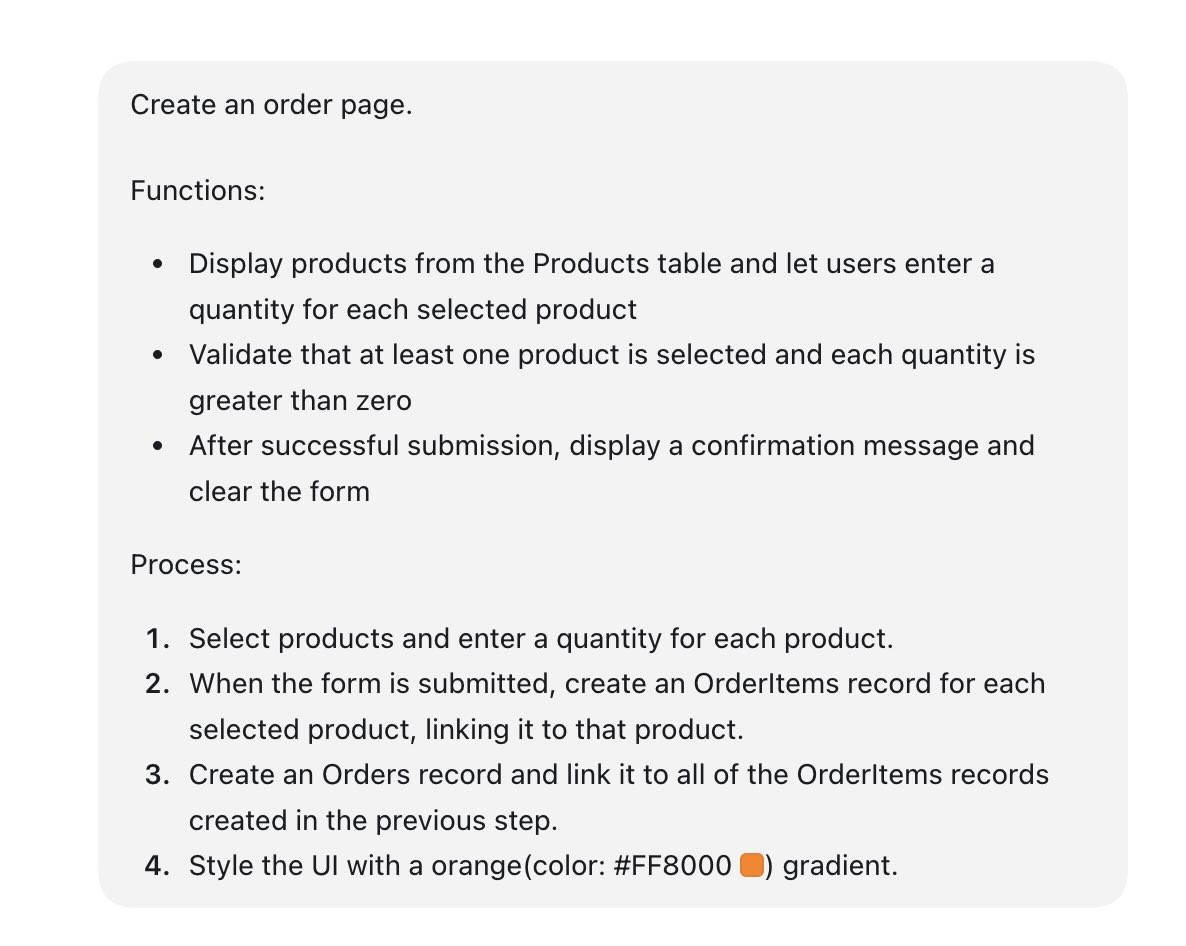
Describe the page you want to generate, including its functionality, workflow, and visual style. Providing detailed requirements can reduce the amount of revision needed later. For example:
Example prompt
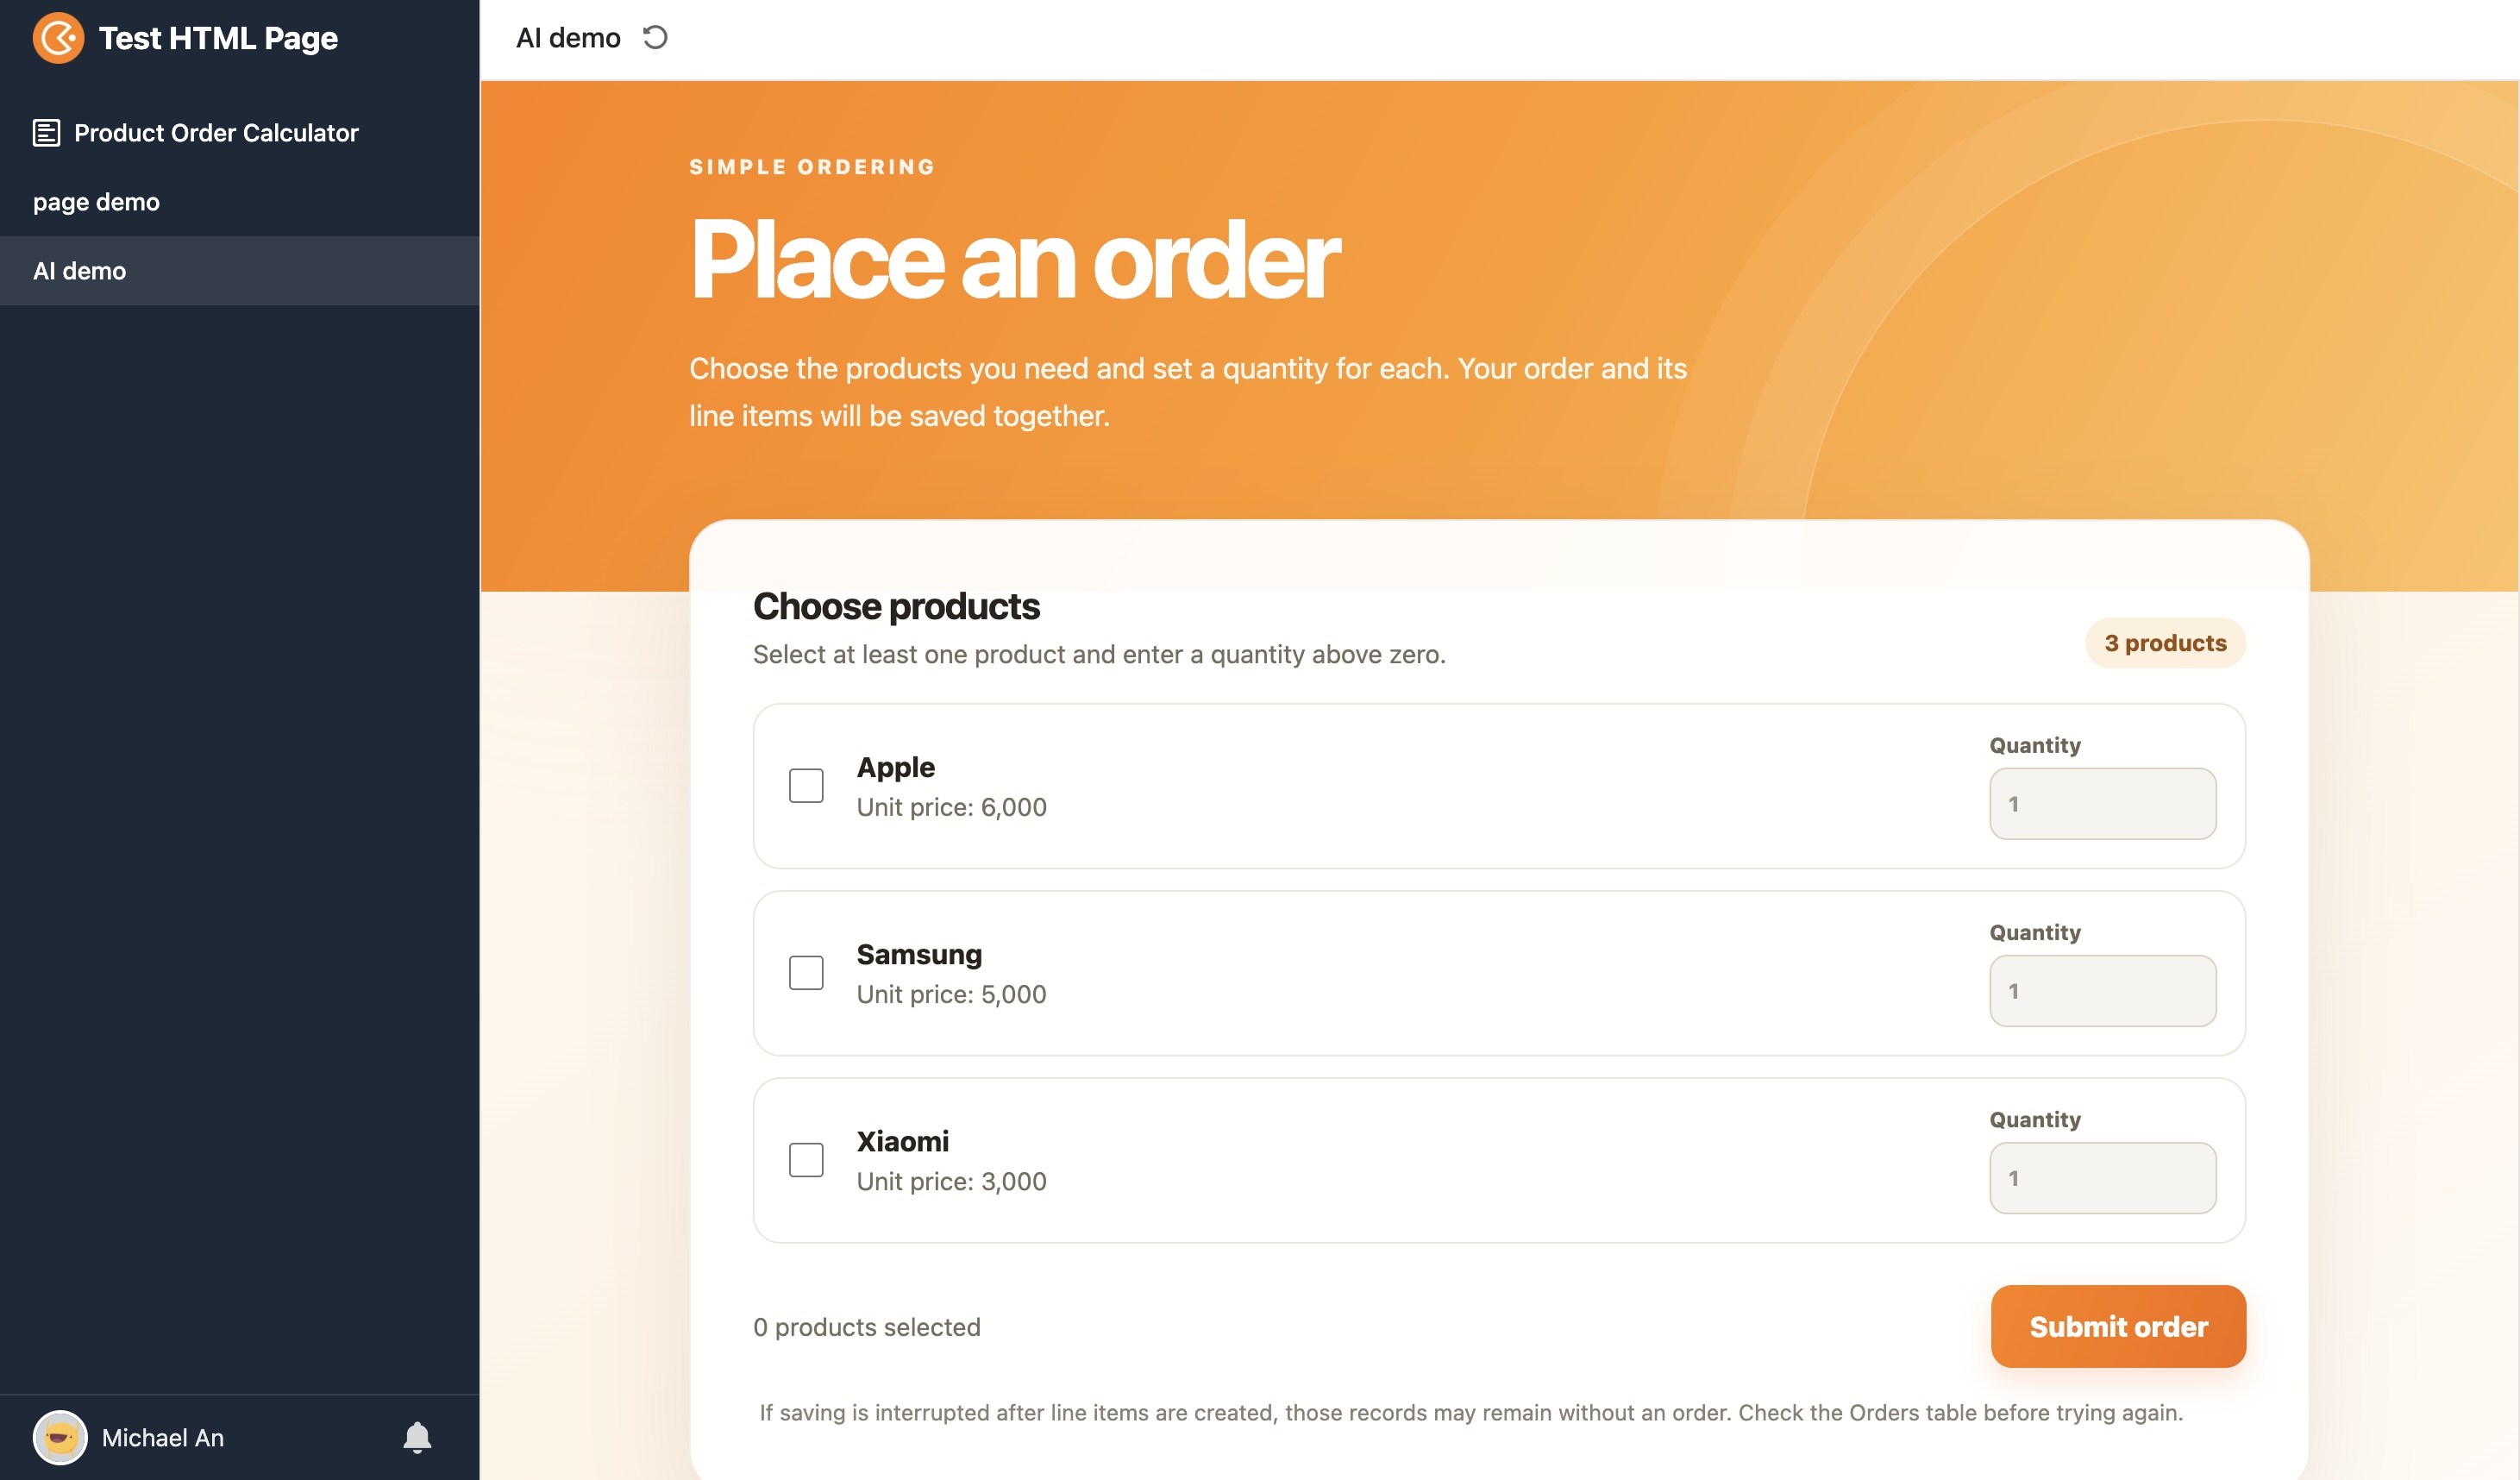
Create an order page.

Functions:
- Display products from the Products table and let users enter a quantity for each selected product
- Validate that at least one product is selected and each quantity is greater than zero
- After successful submission, display a confirmation message and clear the form

Process:
1. Select products and enter a quantity for each product.
2. When the form is submitted, create an OrderItems record for each selected product, linking it to that product.
3. Create an Orders record and link it to all of the OrderItems records created in the previous step.
4. Style the "Submit" button with a orange(color: #FF8000) gradient.
The skill may ask for details about the tables, fields, and other data structures the page needs. If you have not already provided this information, the AI will prompt you for it.
You can also include these details in your initial request. If the AI detects that you have already specified the data structure, it will proceed directly to generating the page.
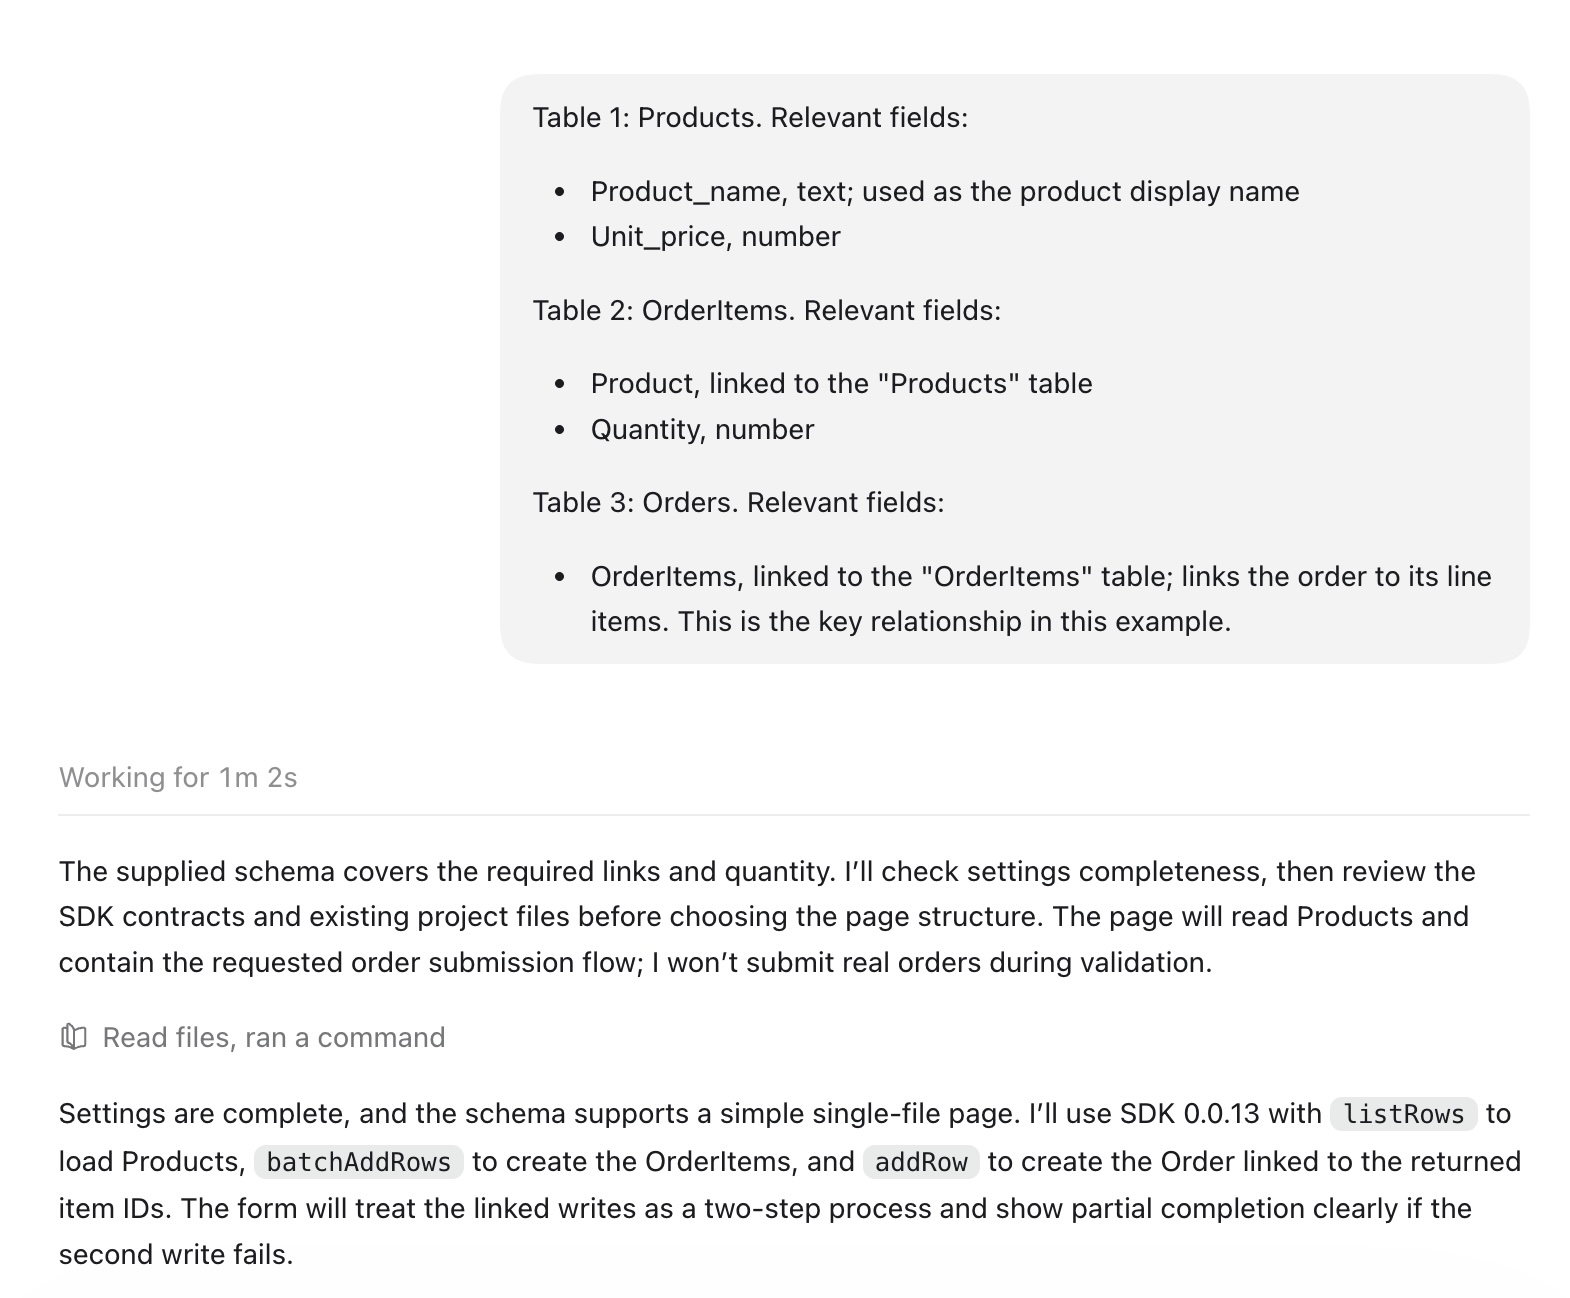
Example of additional data structure details:
Example data structure
Table 1: Products. Relevant fields:
- Product_name, text; used as the product display name
- Unit_price, number

Table 2: OrderItems. Relevant fields:
- Product, linked to the "Products" table
- Quantity, number

Table 3: Orders. Relevant fields:
- OrderItems, linked to the "OrderItems" table; links the order to its line items. This is the key relationship in this example.
Generate the HTML page
After you provide the requirements and data structure, the AI begins generating the page.
If a confirmation prompt like the one below appears, select "Allow once."
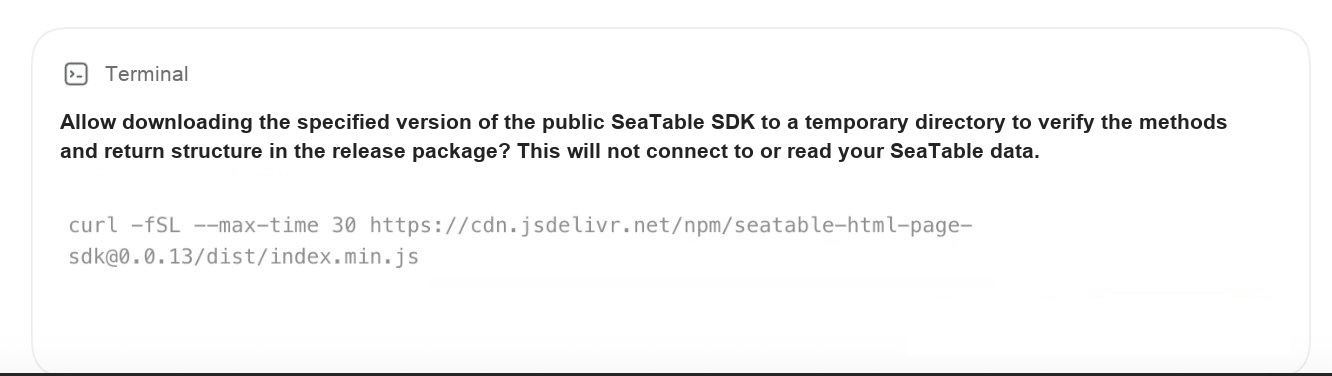
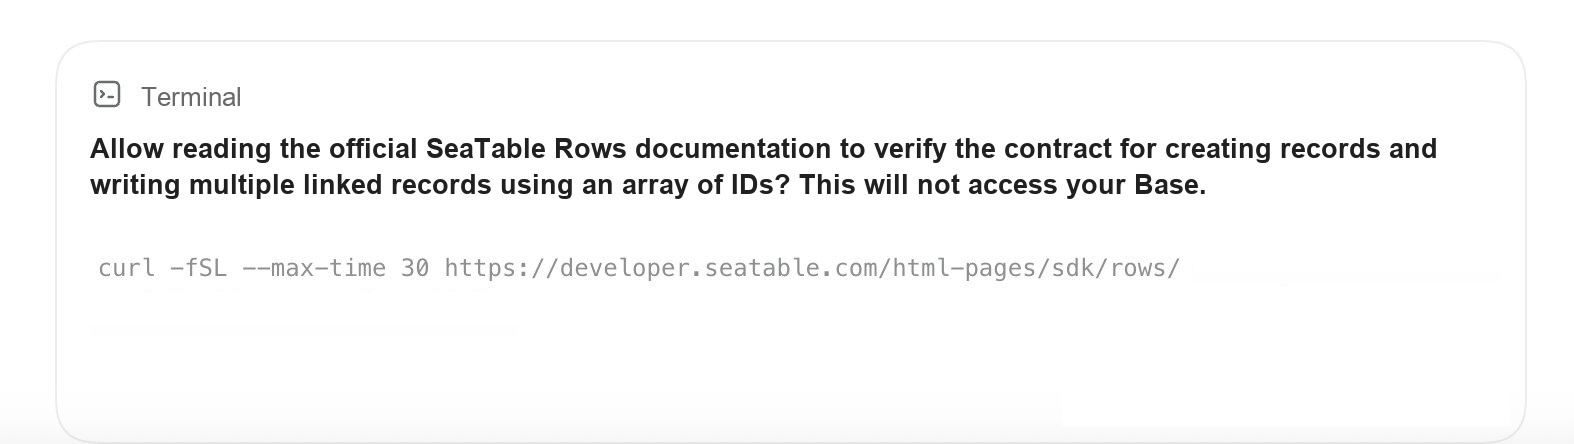
The AI then completes the generation process.
When generation is complete, the AI displays a summary similar to the following:
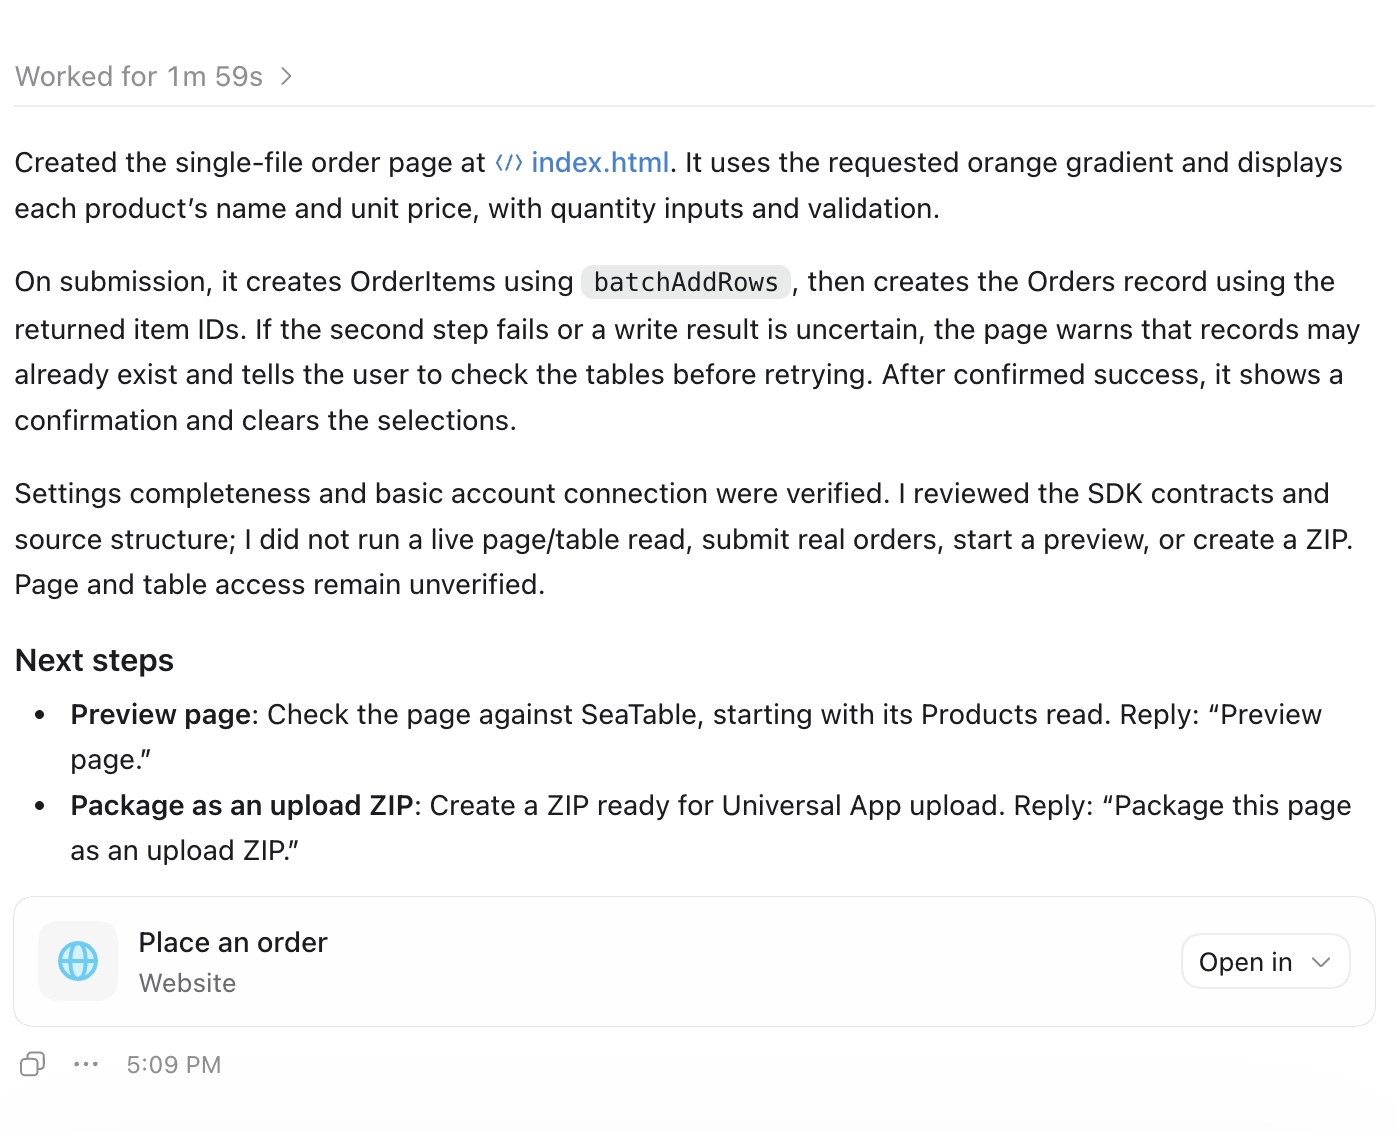
Choose Preview Page to preview the result.
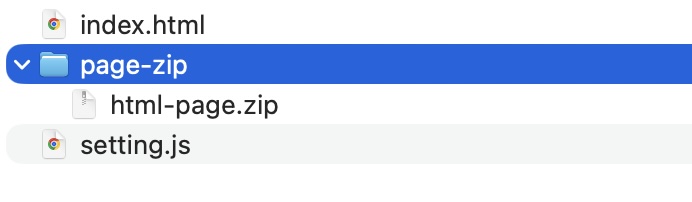
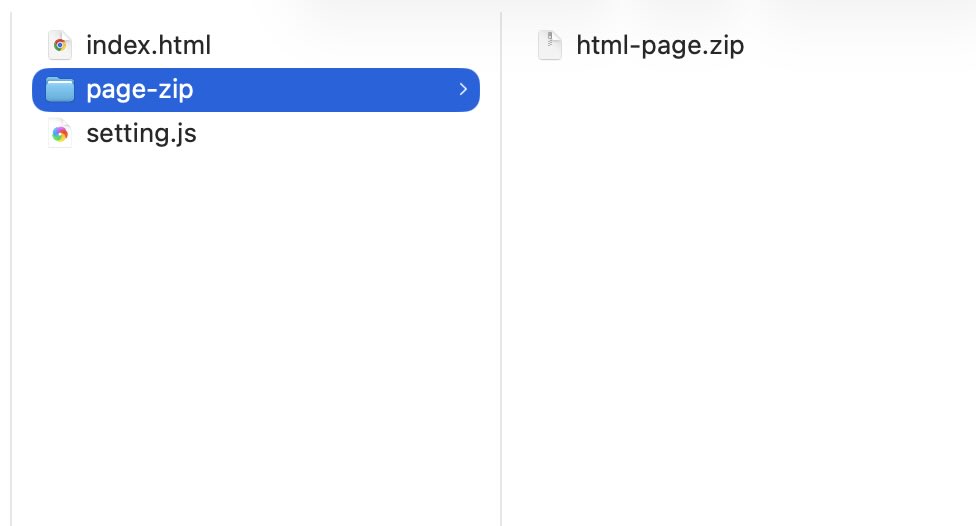
The generated page files are saved in the corresponding local project folder:
Preview page
When the preview service starts, the page opens automatically in ChatGPT. You can also open the service address in your preferred browser. By default, the address is http://127.0.0.1:3005.
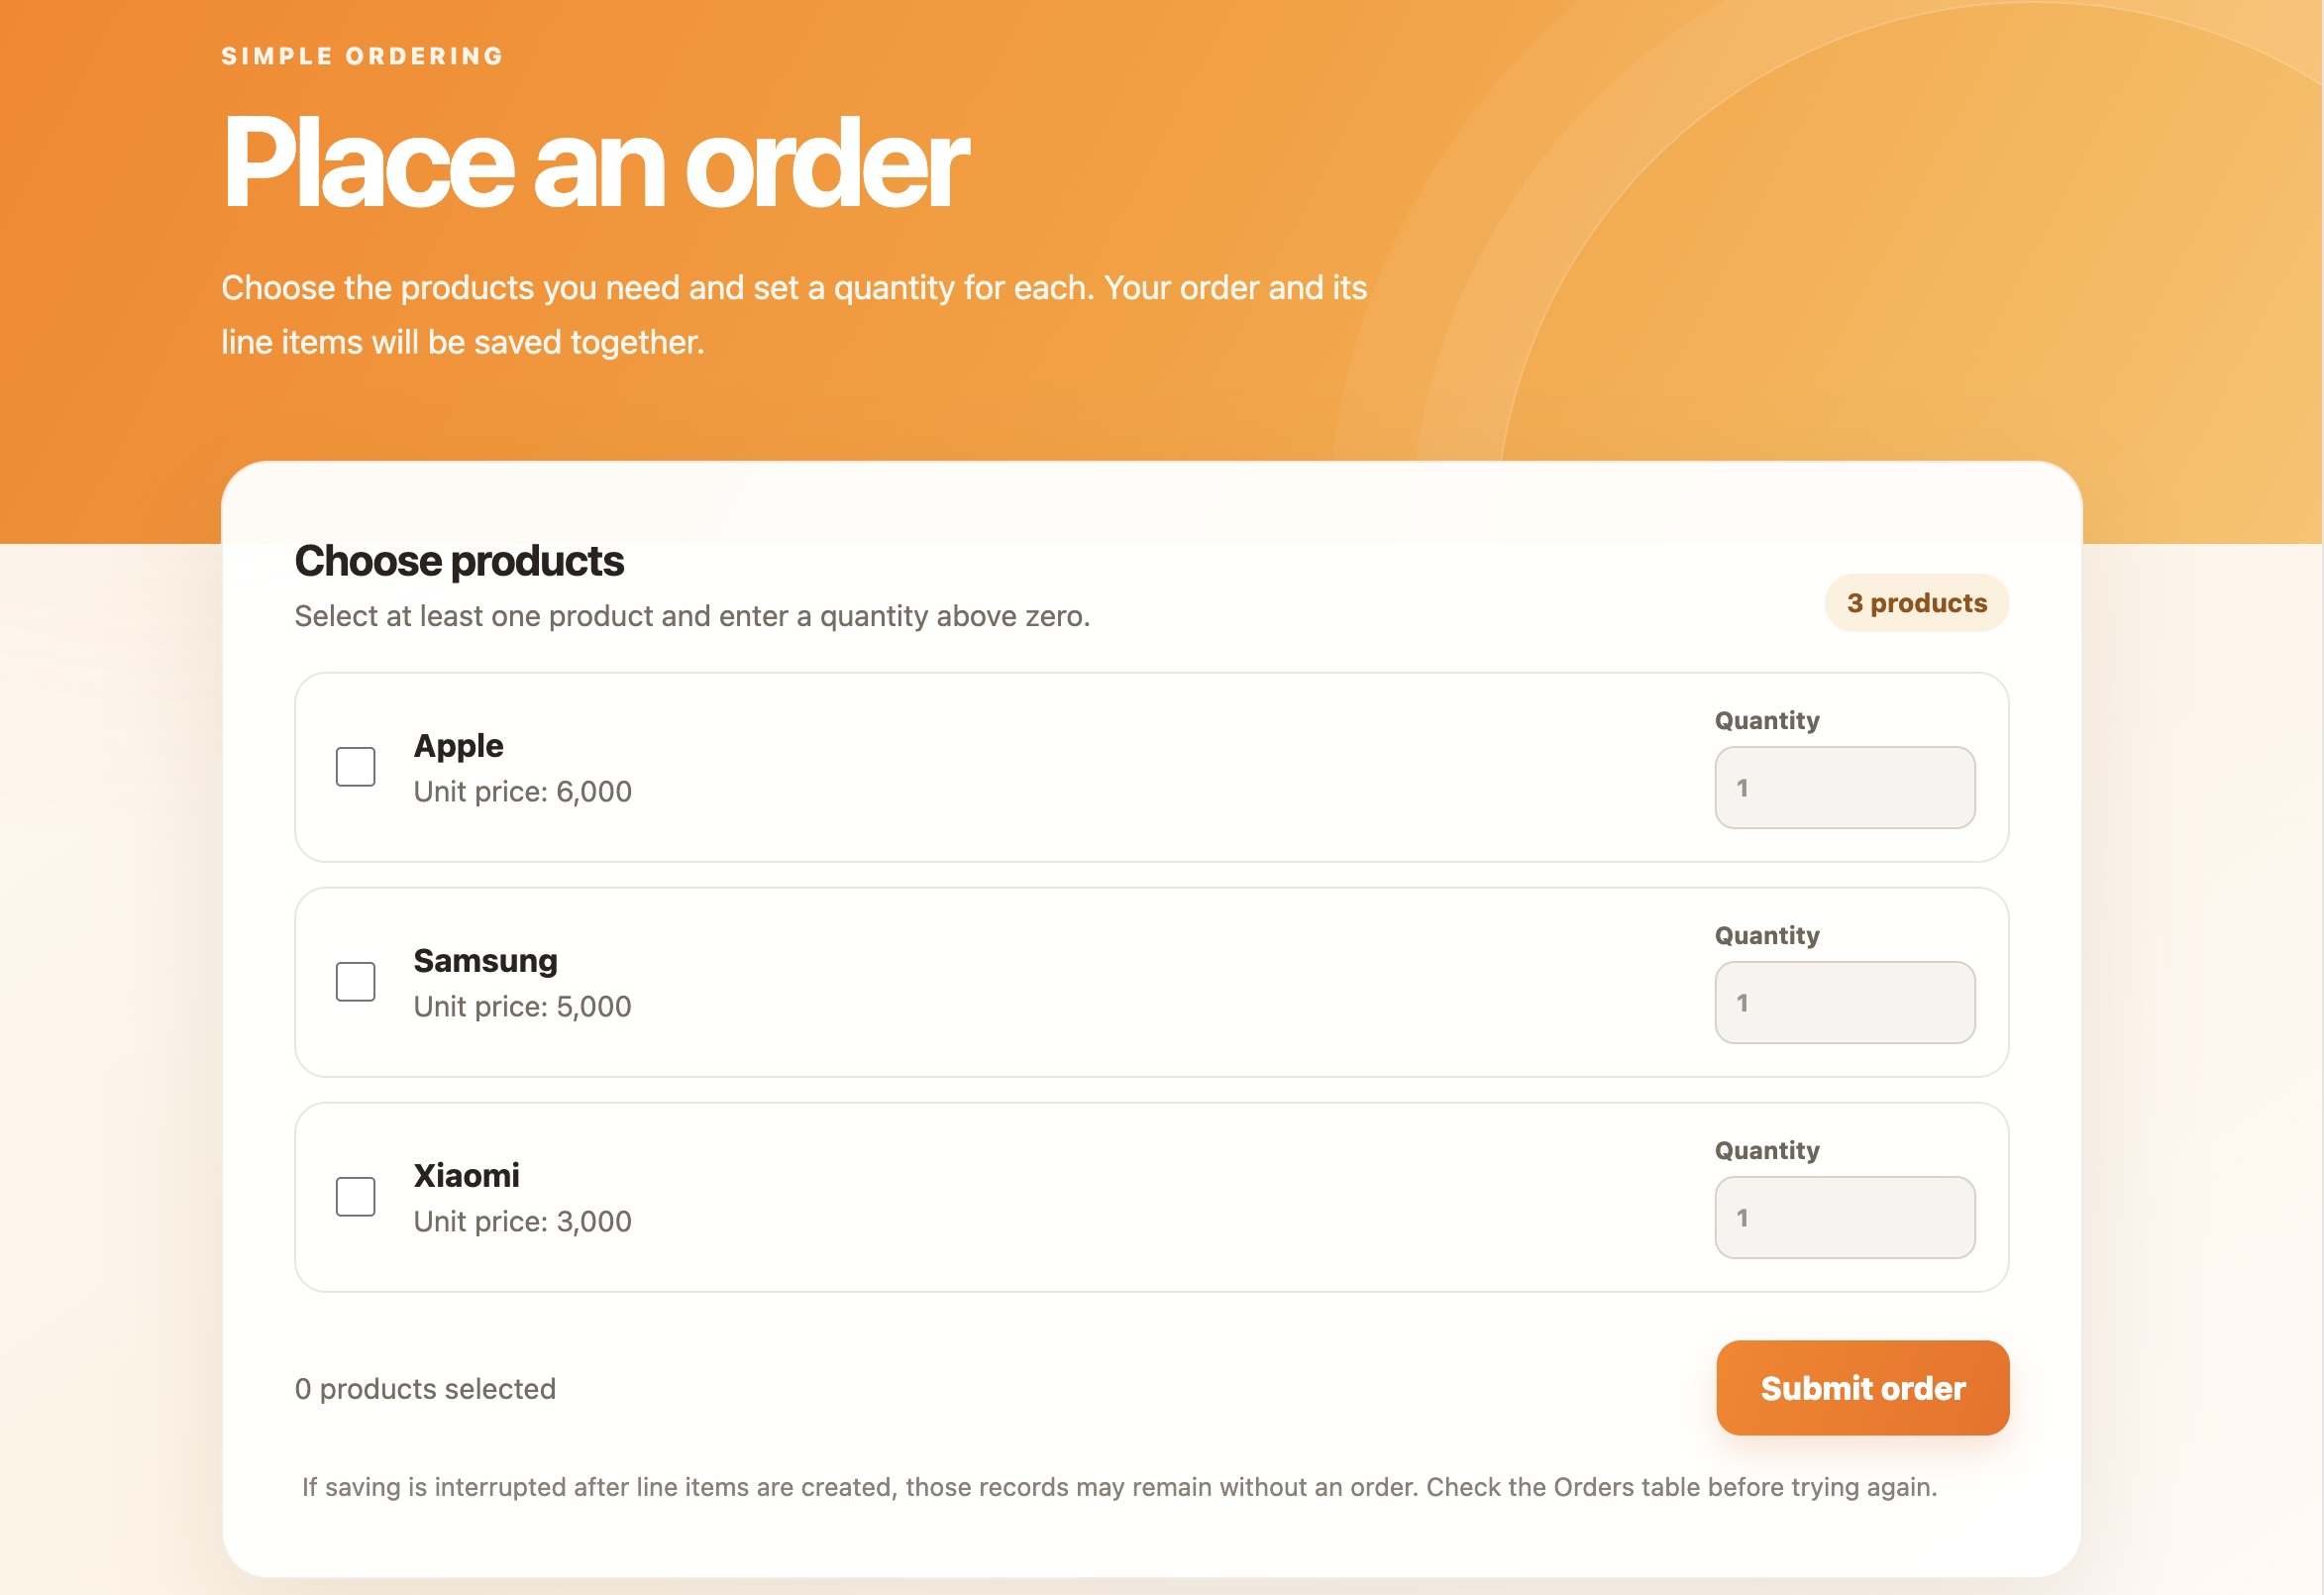
When you finish testing, send the Cancel Preview command to stop the preview service.
Package and upload the page
After testing the page and confirming that it works as expected, send the instruction "Package as an upload ZIP". The AI will then run the packaging script.
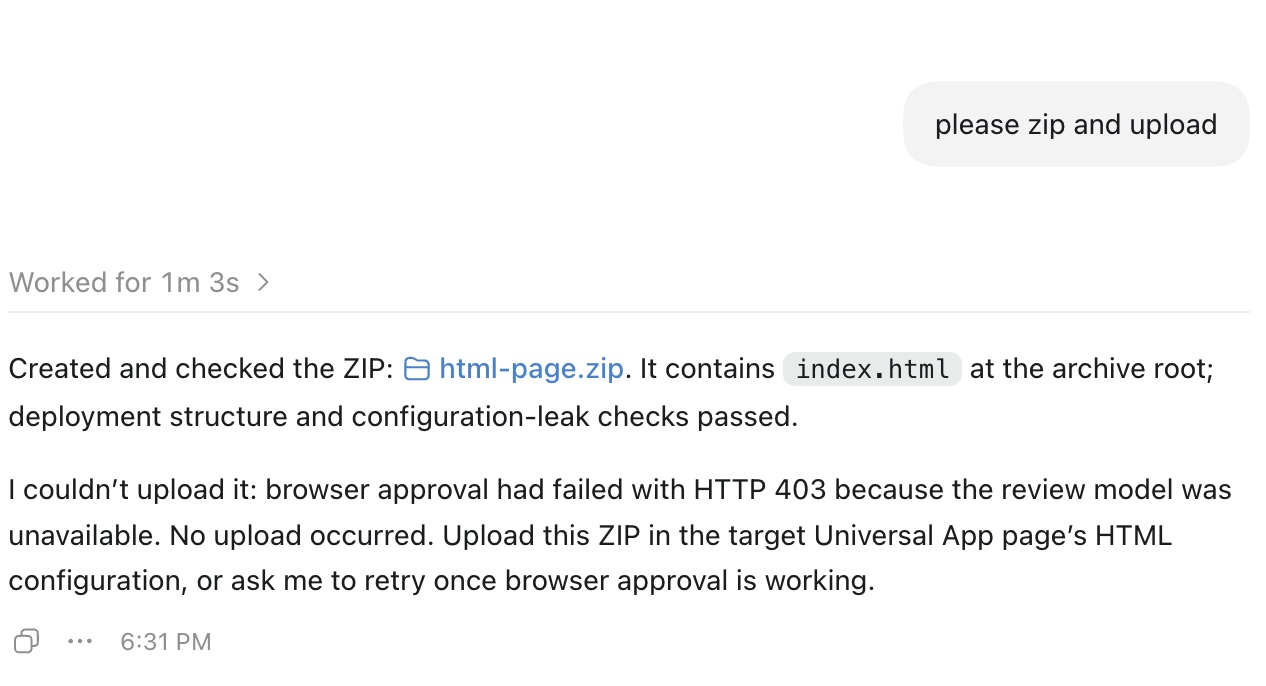
Upload the ZIP file to the HTML page in the app.
The uploaded page appears in the app as follows: